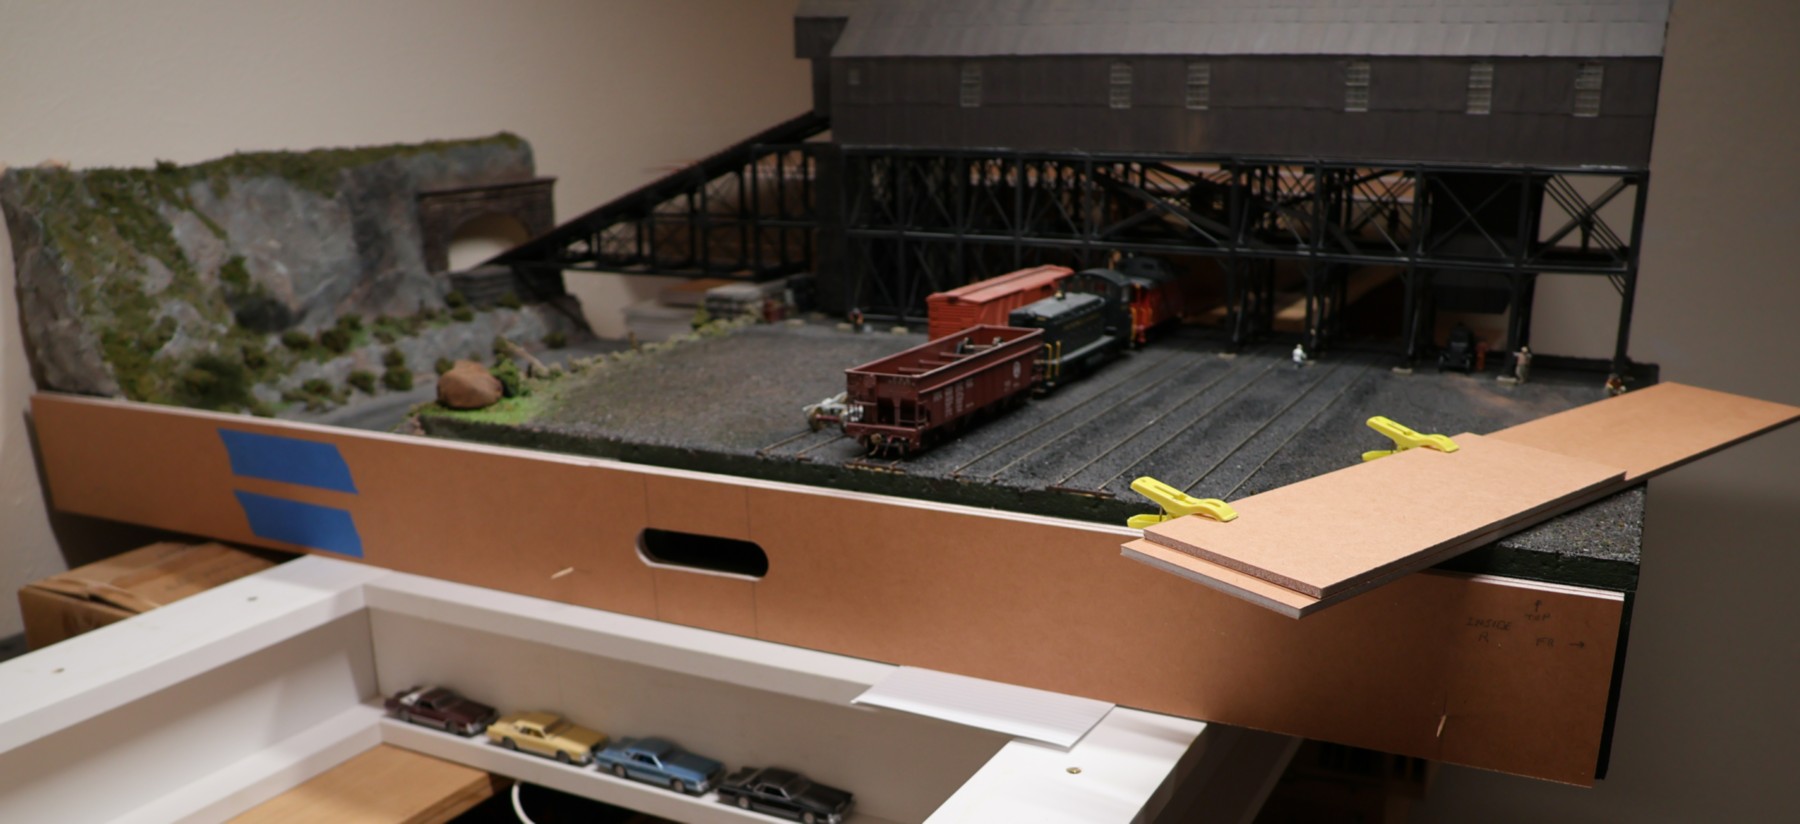
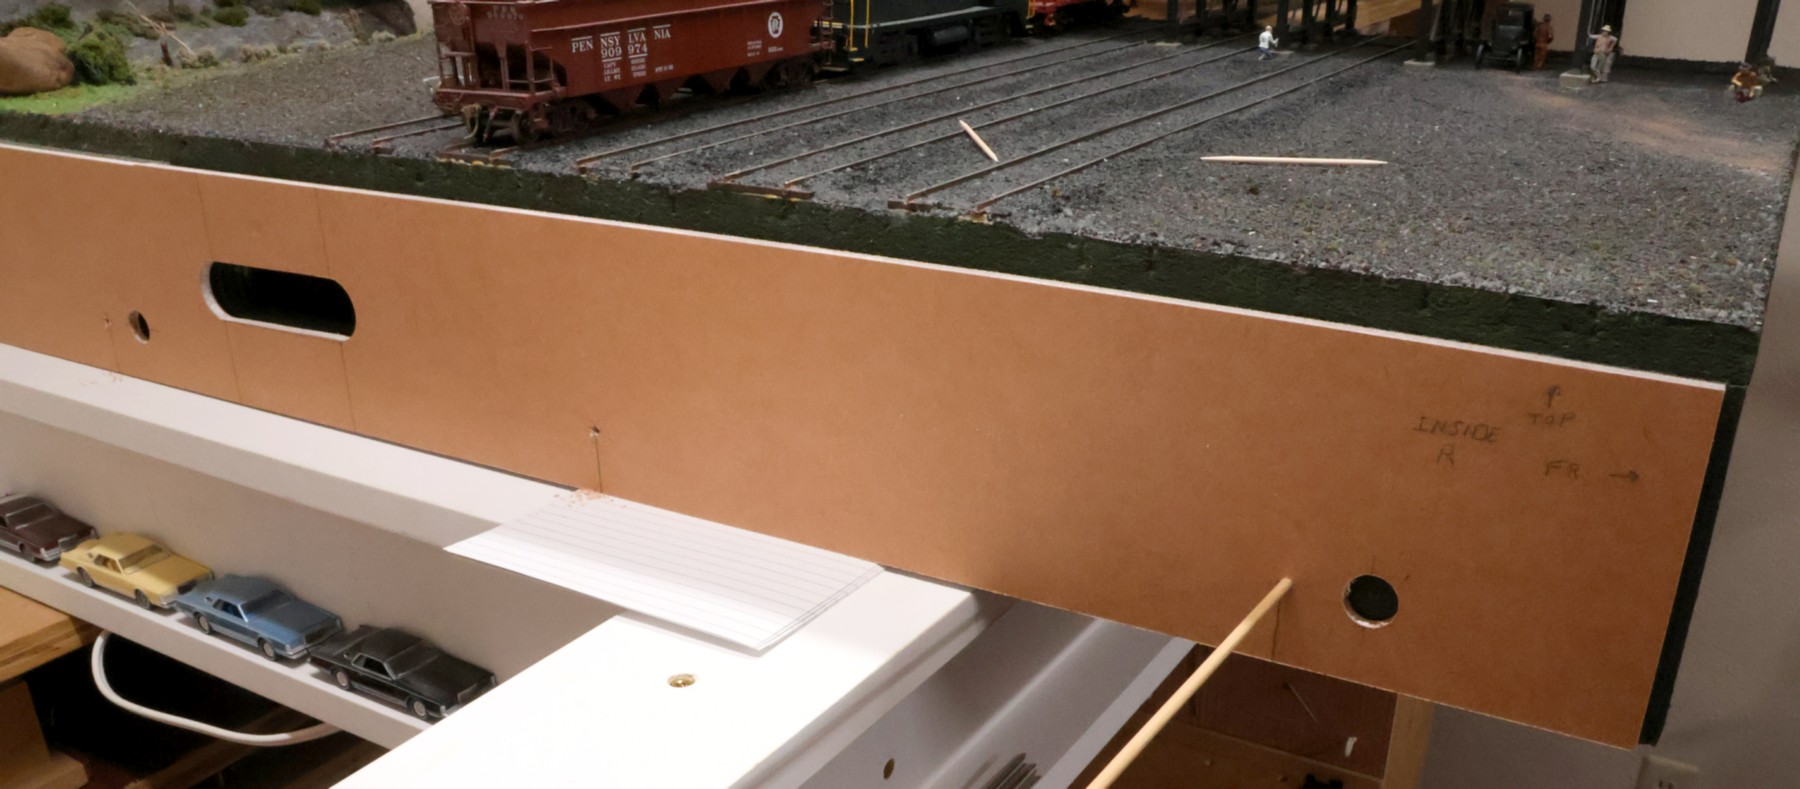
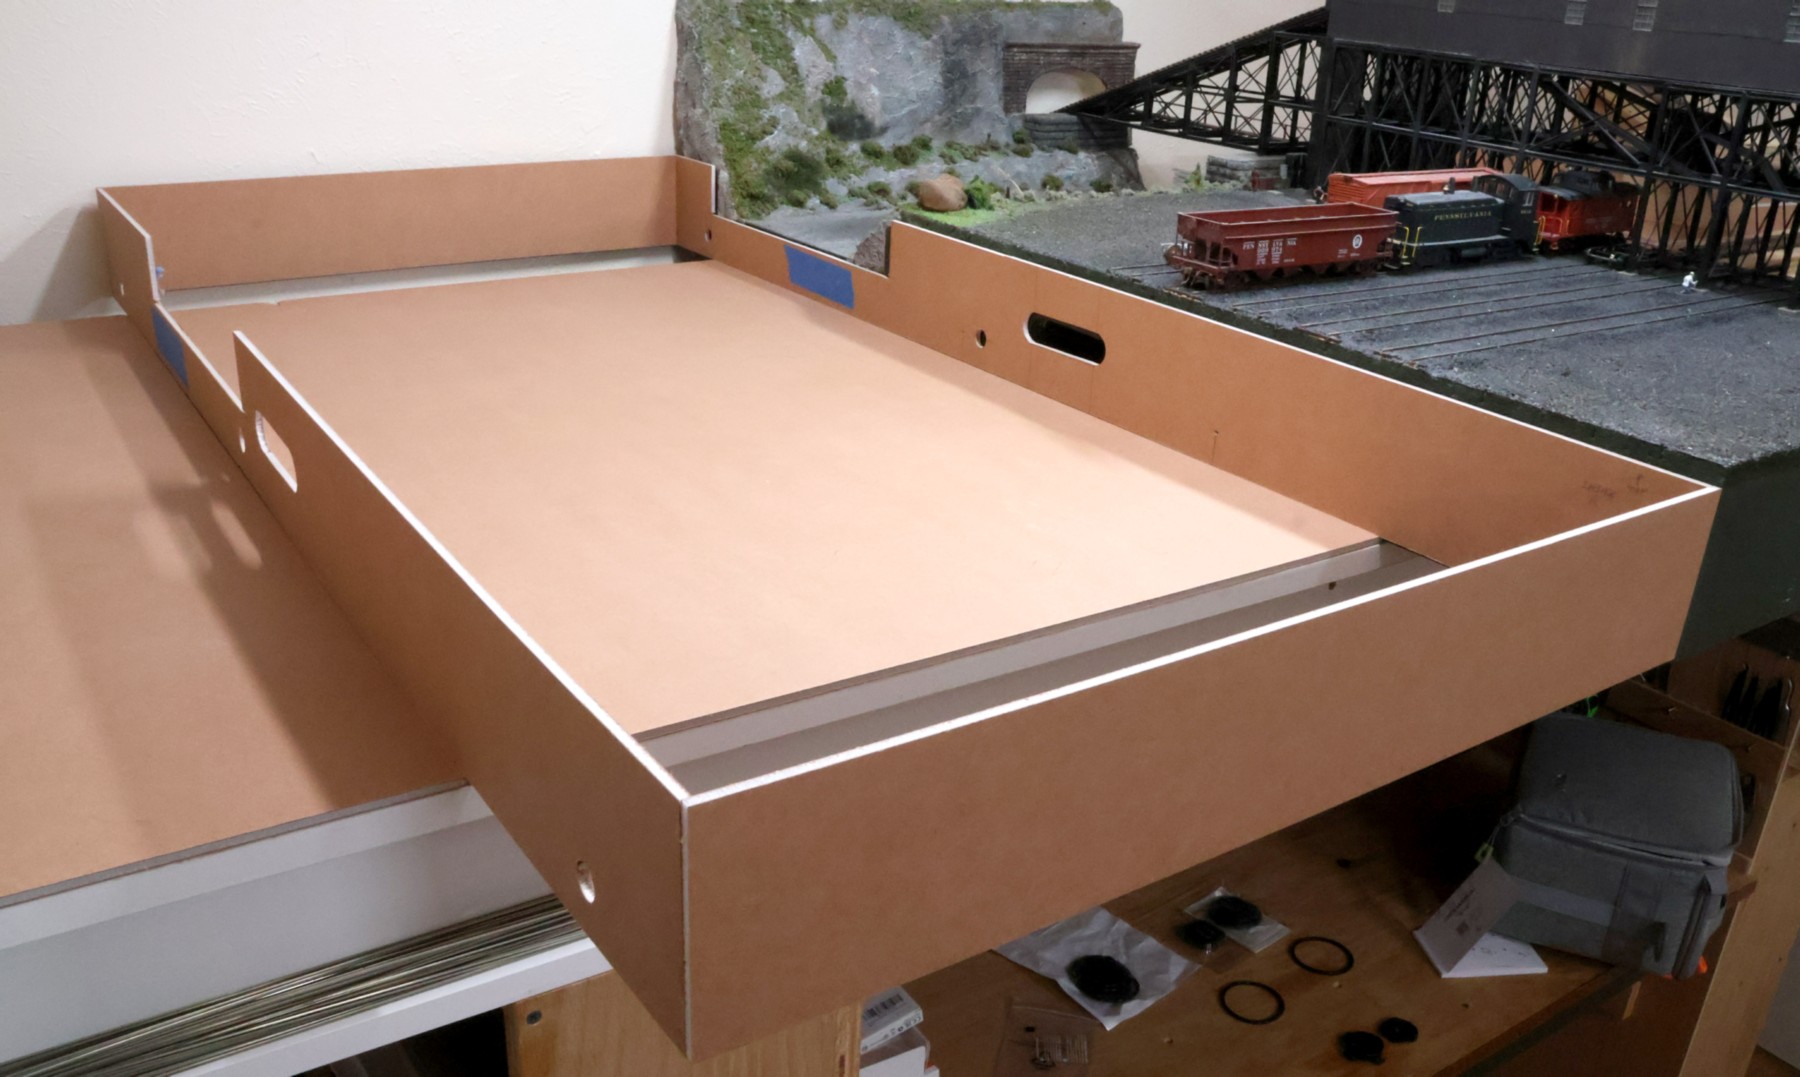
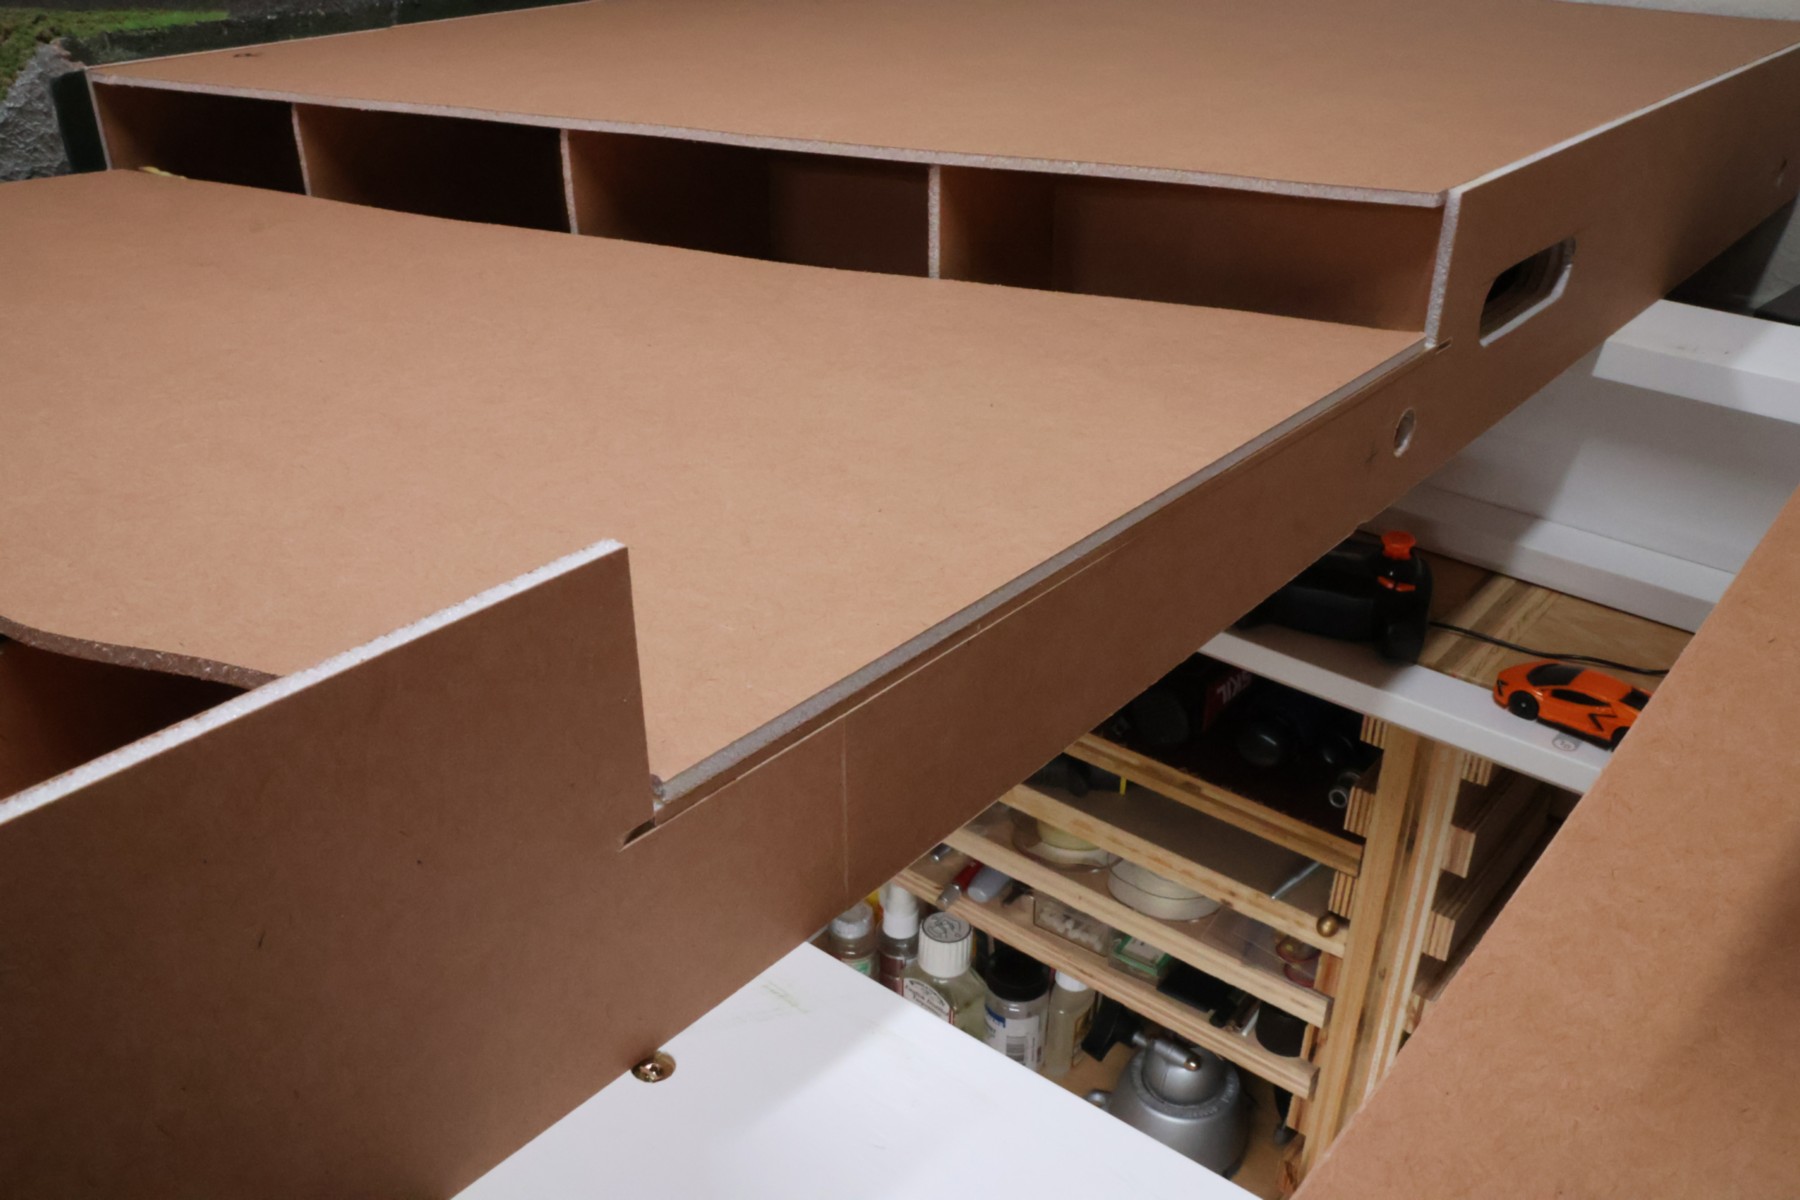
The actual construction of the second module will follow the general flow of how I built the first module. So, I will not document each and every detailed step, here, as they will largely be the same. What I want to document on this page are those things that are different from the first module's steps. So, the first photo shows the two sides having been constructed and the module's grab handle cut out of them. The blue tape is there to hold the 36" and 12" pieces together, even though they have been glued together. Since that is an end-joint glue-up, it is very weak, so while I am manipulating each of the side panels, the tape makes sure that there will be no damage. In this photo I am in the process of making three holes in the side panels, into which the magnets will be installed later on.
(external link: First Module's Construction)
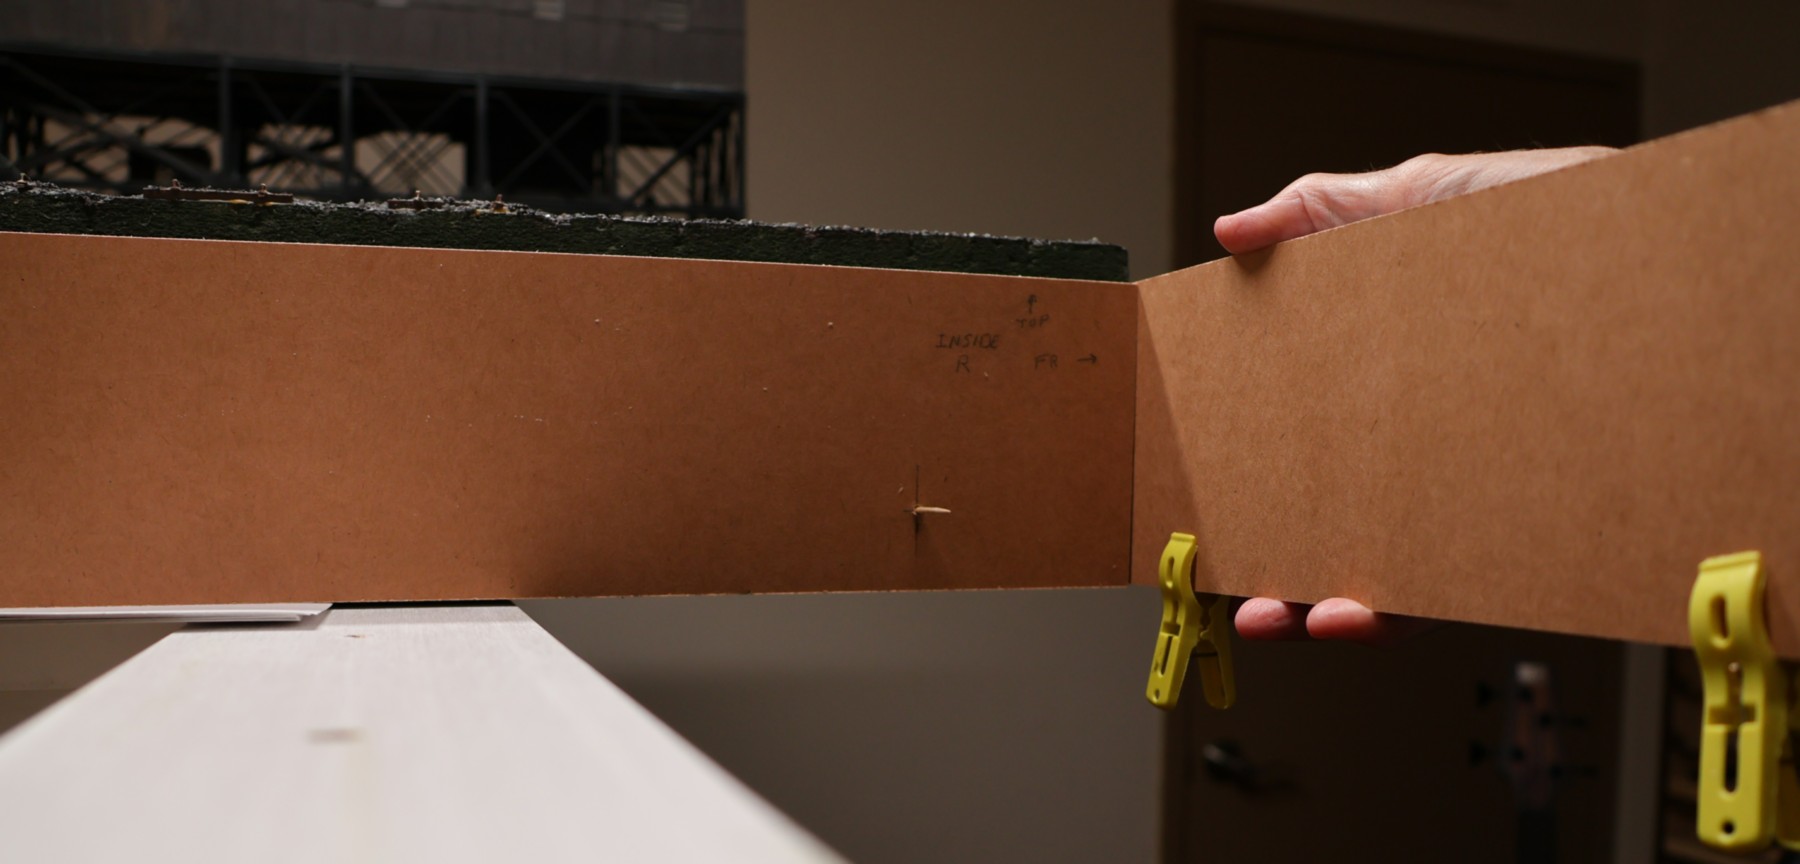
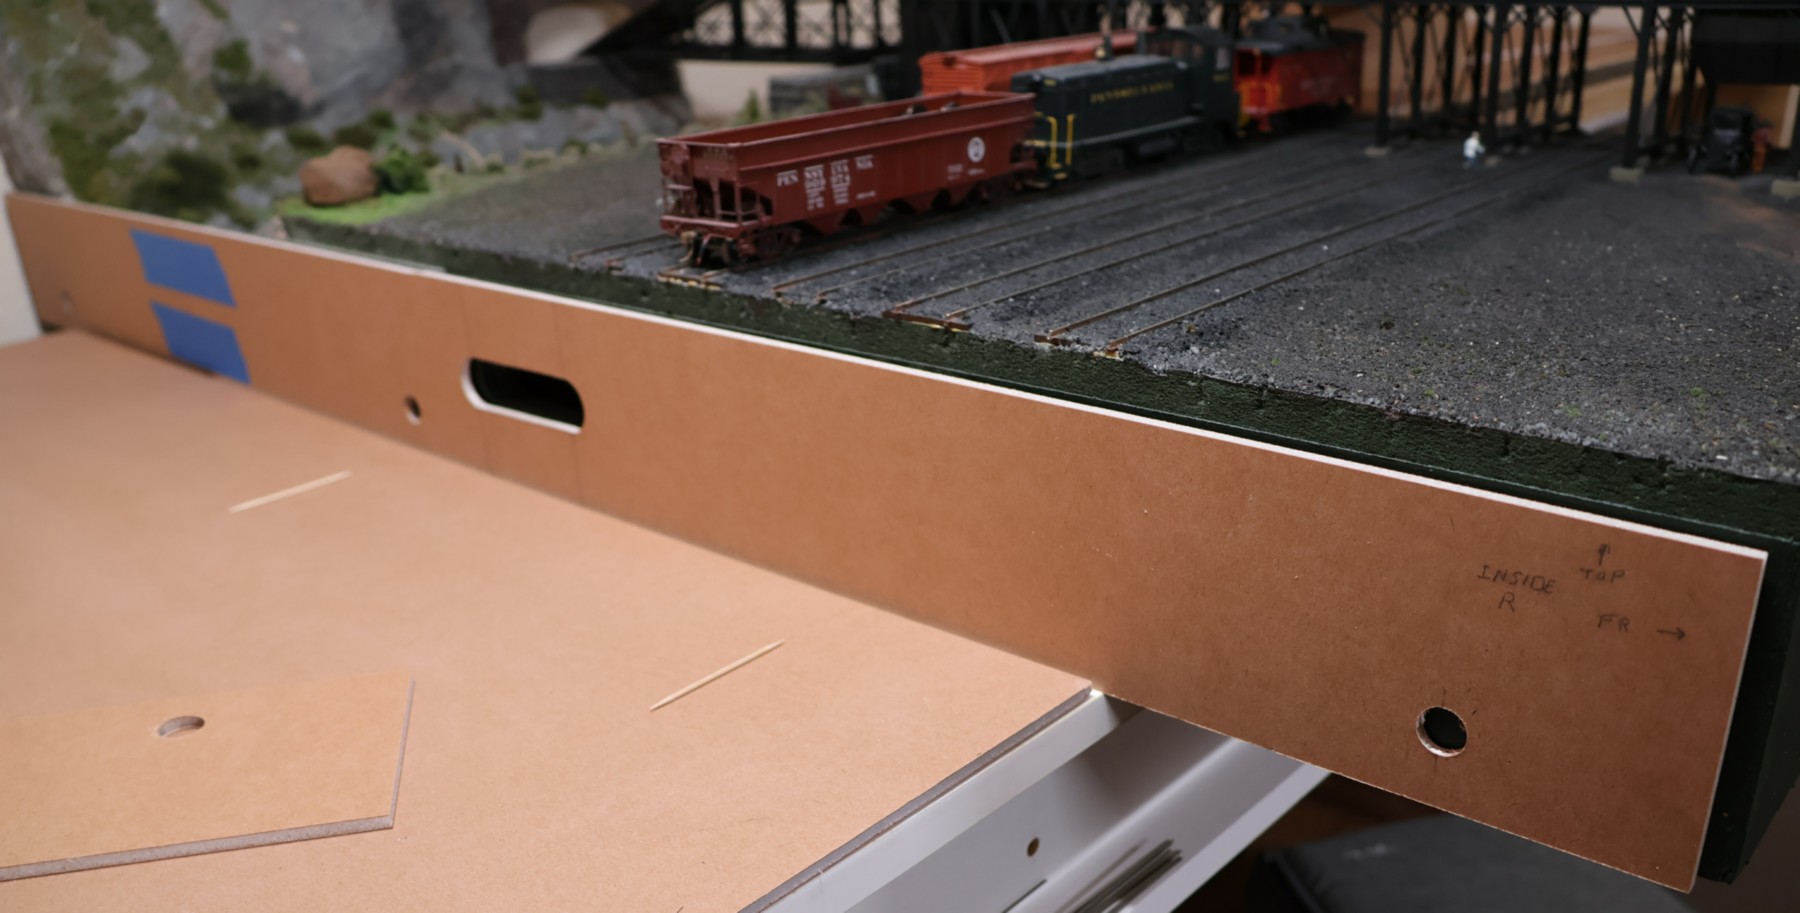
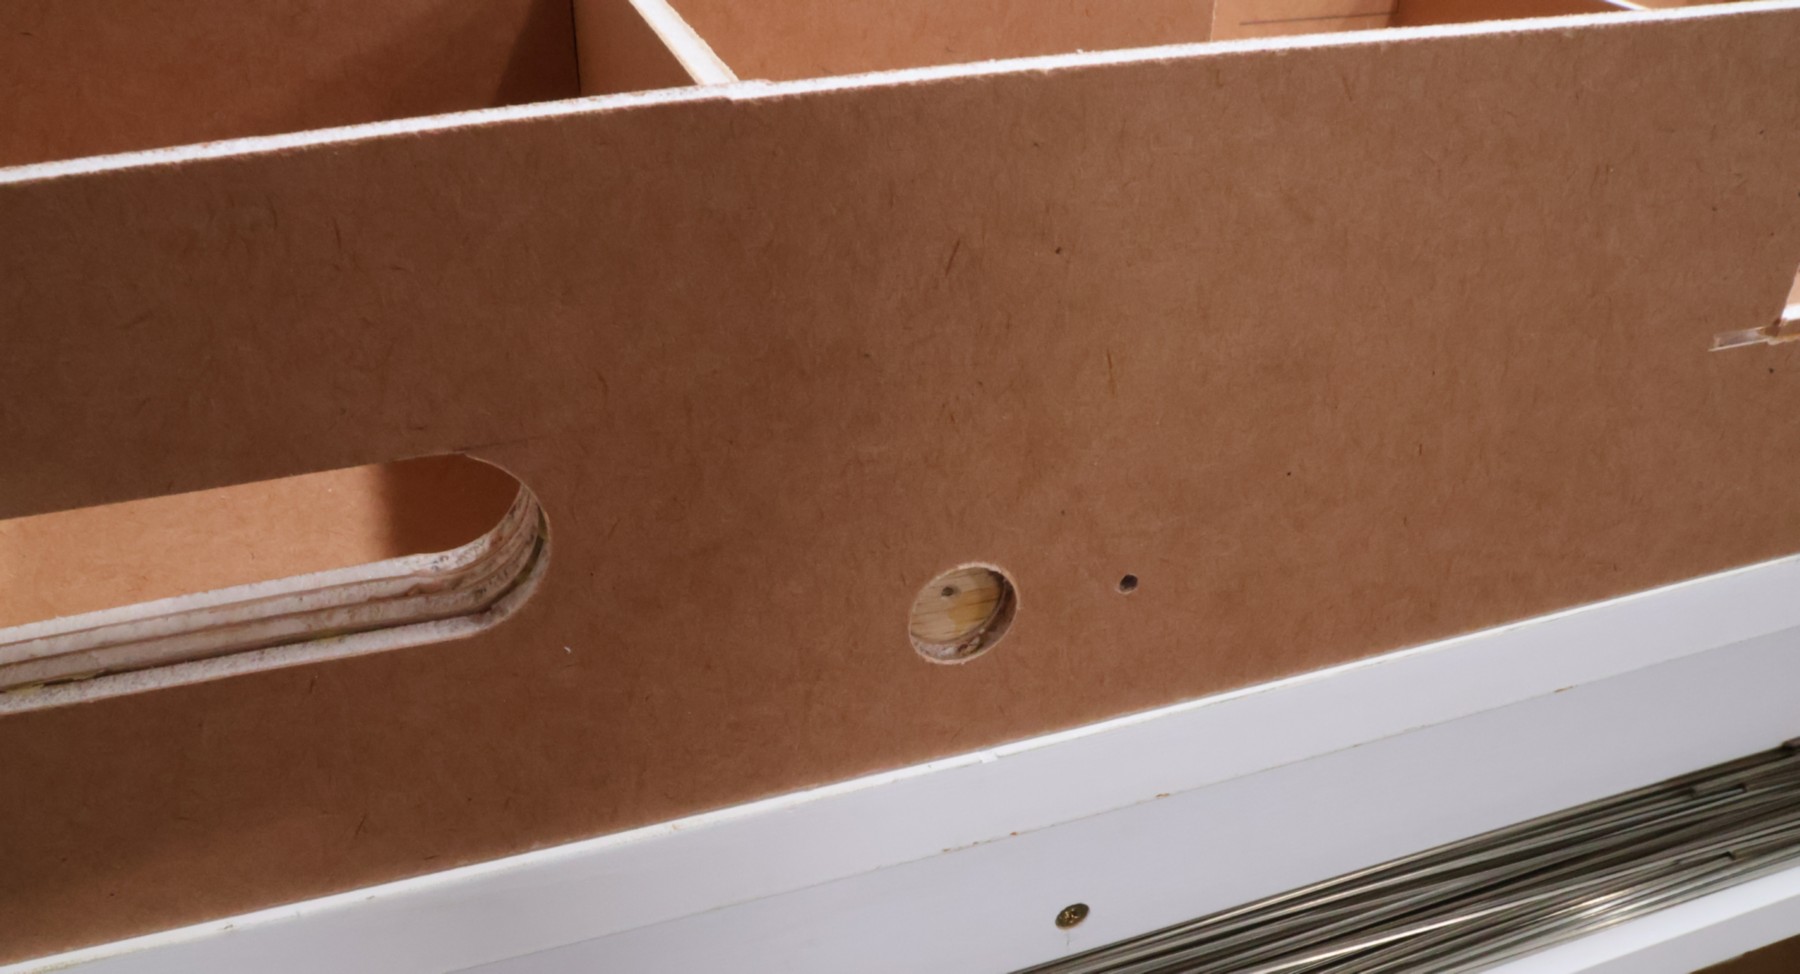
I carefully lined up the side panels such that they match up with the first module's side panel. Since the side panels are offset by the thickness of the Gatorfoam board, I held a temporary "front" panel in position while I drilled the pilot holes for the three magnets' holes. I put toothpicks into the pilot holes while I set up the shot for these photos. I drilled holes in both side panels at the same time (simply flip one of them around), so that both the left and right side panels have the holes in the same location. This is not critical, but it made quick work of it. What is critical, however, is that the right-hand side panel lines up with the first module's left side panel perfectly, especially the very visible front edge.
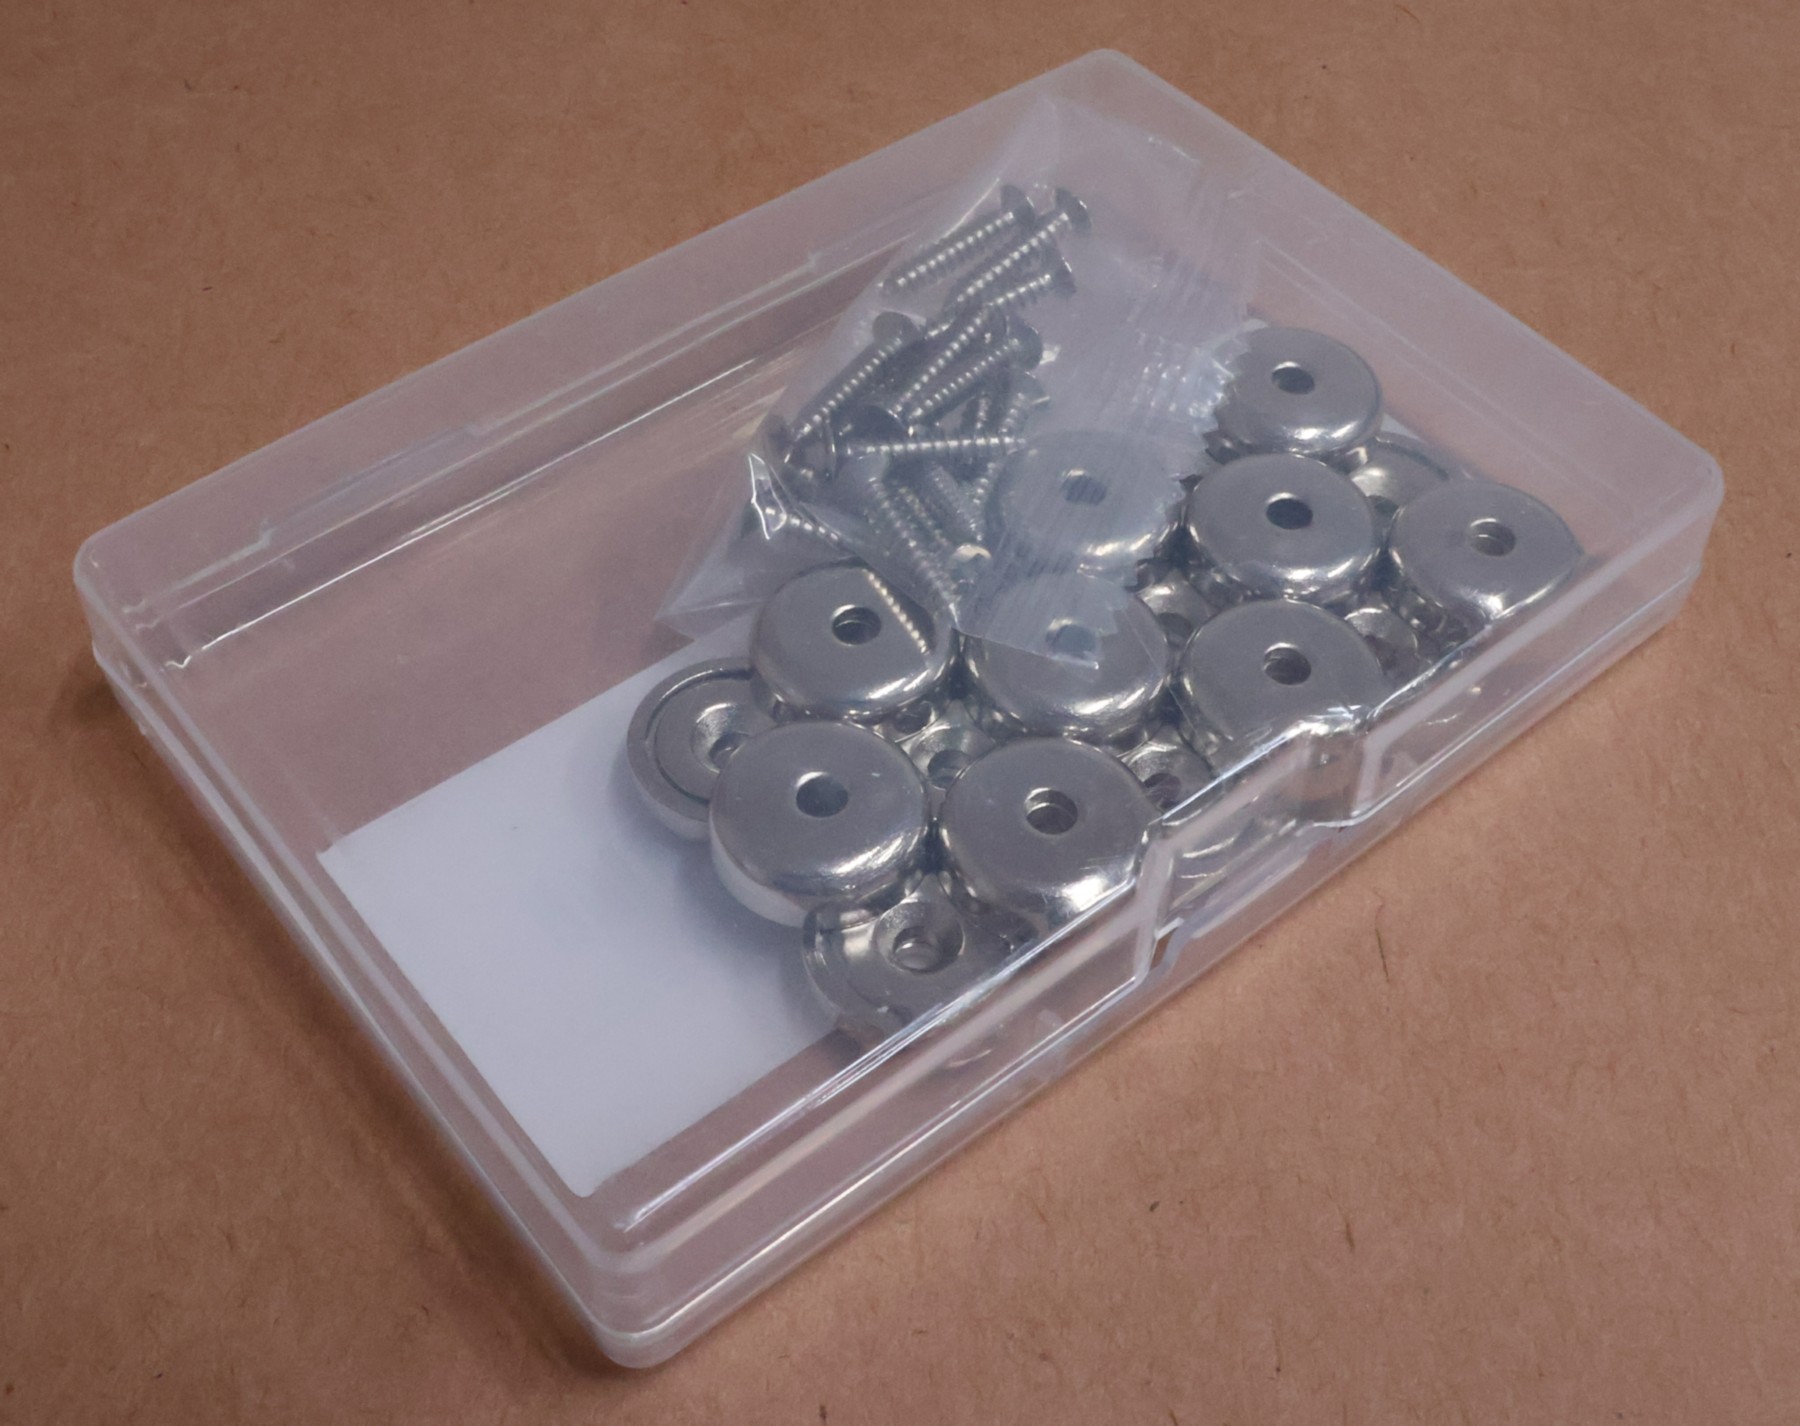
I bought these magnets from Amazon. They are very powerful, so three of them across a 48" span should be sufficient. The key feature that I like about them is that they have a countersunk hole in their center, so they can be screwed to a block of wood. In the past I have tried supergluing or using 5-minute epoxy to glue a magnet to a surface and the bond just doesn't last with these types of rare-earth magnets. While the Amazon photo shows that these attract to each other, the actual reality is that only one side of the magnet attracts (the other repels), and so you would have to mount the opposing magnet with the mounting screw out of the module to make the magnets work with each other. So, instead, I tested it with a metal washer and it works perfectly. A metal washer has a center mounting hole, so I can use one that is approximately the same outer diameter and mount that to the other module's side panels. As a side note, these magnets are intended to be mounted somewhere and have something with metal hang off of them. For example, I took a number of these and screwed them to a section of plywood, so that I could hang my chisels to the plywood board and have easy access to them.
(external link: Magnets)
The magnets have an outer diameter of 16mm, which is a perfect fit for a 5/8" Forstner bit, so I used the pilot holes to guide the Forstner bit in the drill press to drill the holes. The holes are 3 inches away from the front and back edges, and 1 inch away from the bottom edge. The center hole is drilled at 25 inches from the front. The latter is to make sure to stay away from the grab handles, yet be close to that area just in case I need to use some force to pull the modules apart. The position from the bottom is to make sure to stay away from the creek bottom. These particular magnets are exactly 3/16" thick. The Gatorfoam board is 12.5/64", so just a hair thicker than the magnet, making the magnet fit just about perfectly.
Again, at one inch from the bottom of the module, I drilled a pilot hole, later enlarged with a 1/8" drill bit, to make the holes for the 1/8" dowel rod I am using as alignment pins. The magnets will act as clamps while the alignment pins will hold the modules in the correct relative position to each other. Drilling the alignment pins is probably the single-most important step in this construction process, to make sure that they consistently align with the other module and that there is no slop between the two modules. That way the track will later line up perfectly each time the layout is taken apart and rebuilt. This photo shows the first wooden rod inserted in the first drilled hole, that way the drilling of other holes is consistent. The first one is super critical. I put five alignment-pin holes in the side panels of the second module at 4", 14", 26", 34", and 43" from the front edge. The ones near the magnets are close to the magnets so that the magnets get lined up accurately.
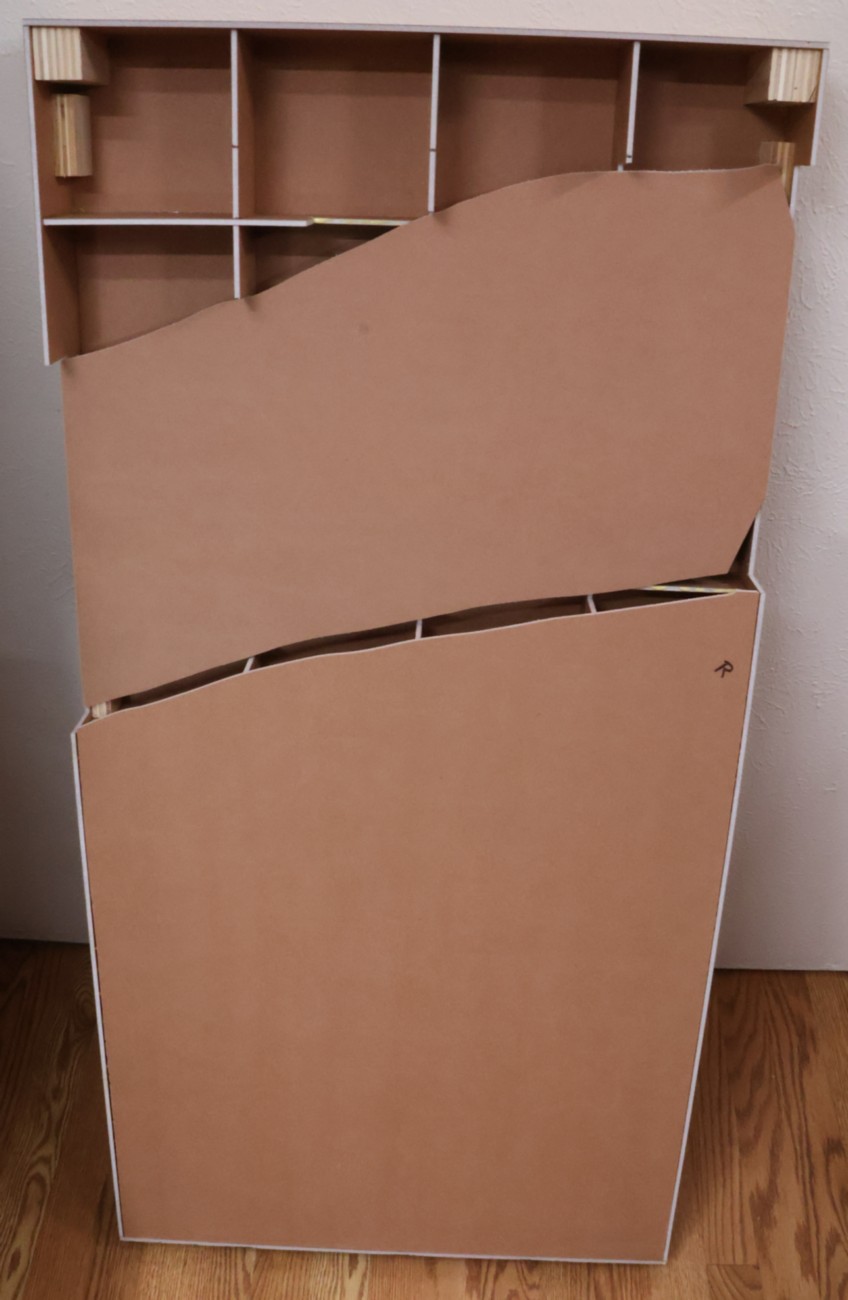
After cutting out the creek's profile in the side panels, I glued the four panels together into the exterior box of the module. When the glue cured, I brought it in from the garage (I use my table saw as that has the flattest surface in the house that is large enough to hold this 2' x 4' frame) and put it next to the first module to verify that everything aligns and matches. Note that the module's framing rests on two extra sheets of Gatorfoam, which I have placed on the layout's support I-beams, to keep the cats from climbing up on to my layout.
I am building this module in the garage, but we got a sudden cold spell, so I didn't want it to go through massive temperature swings, so I brought it indoors. The bottom sheets have been glued into place, with blue tape acting as the (initial) clamps and continuing to protect the joints during moves.
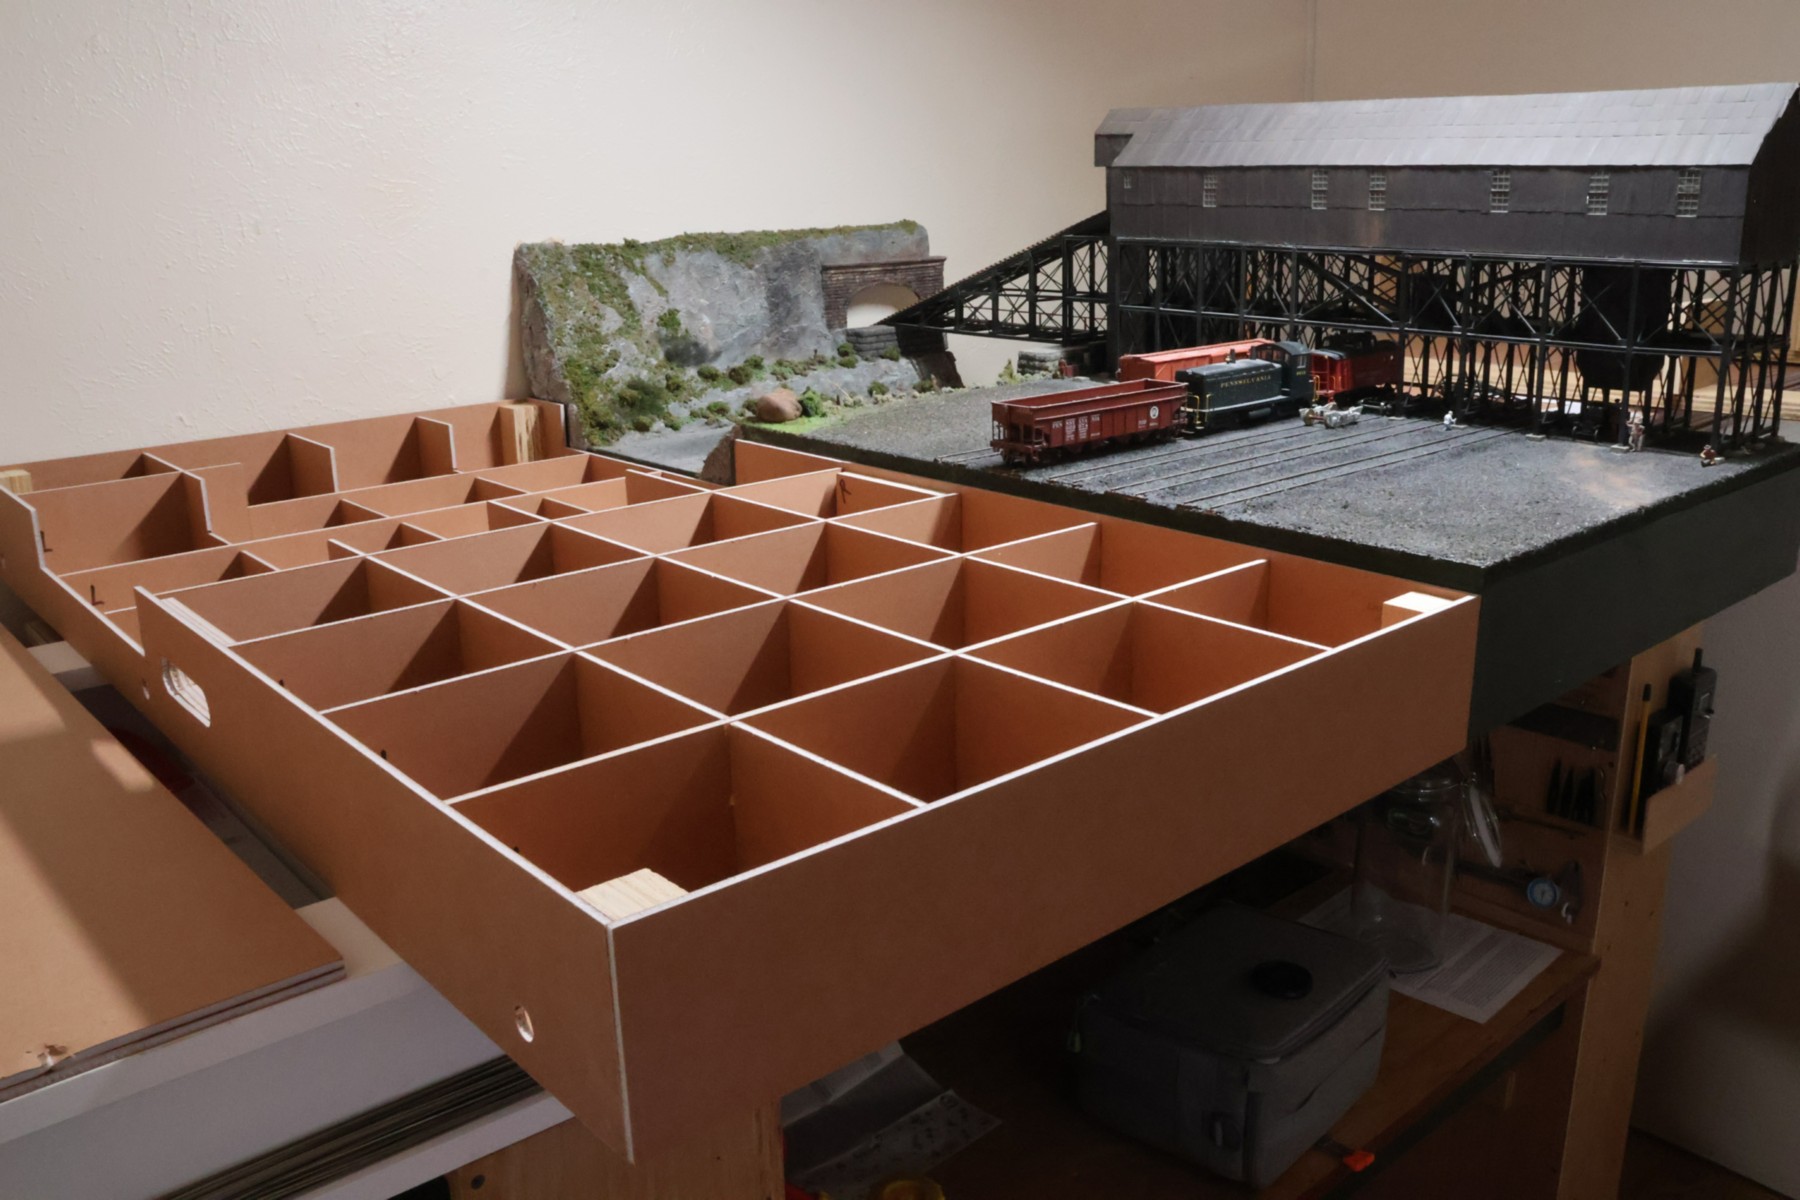
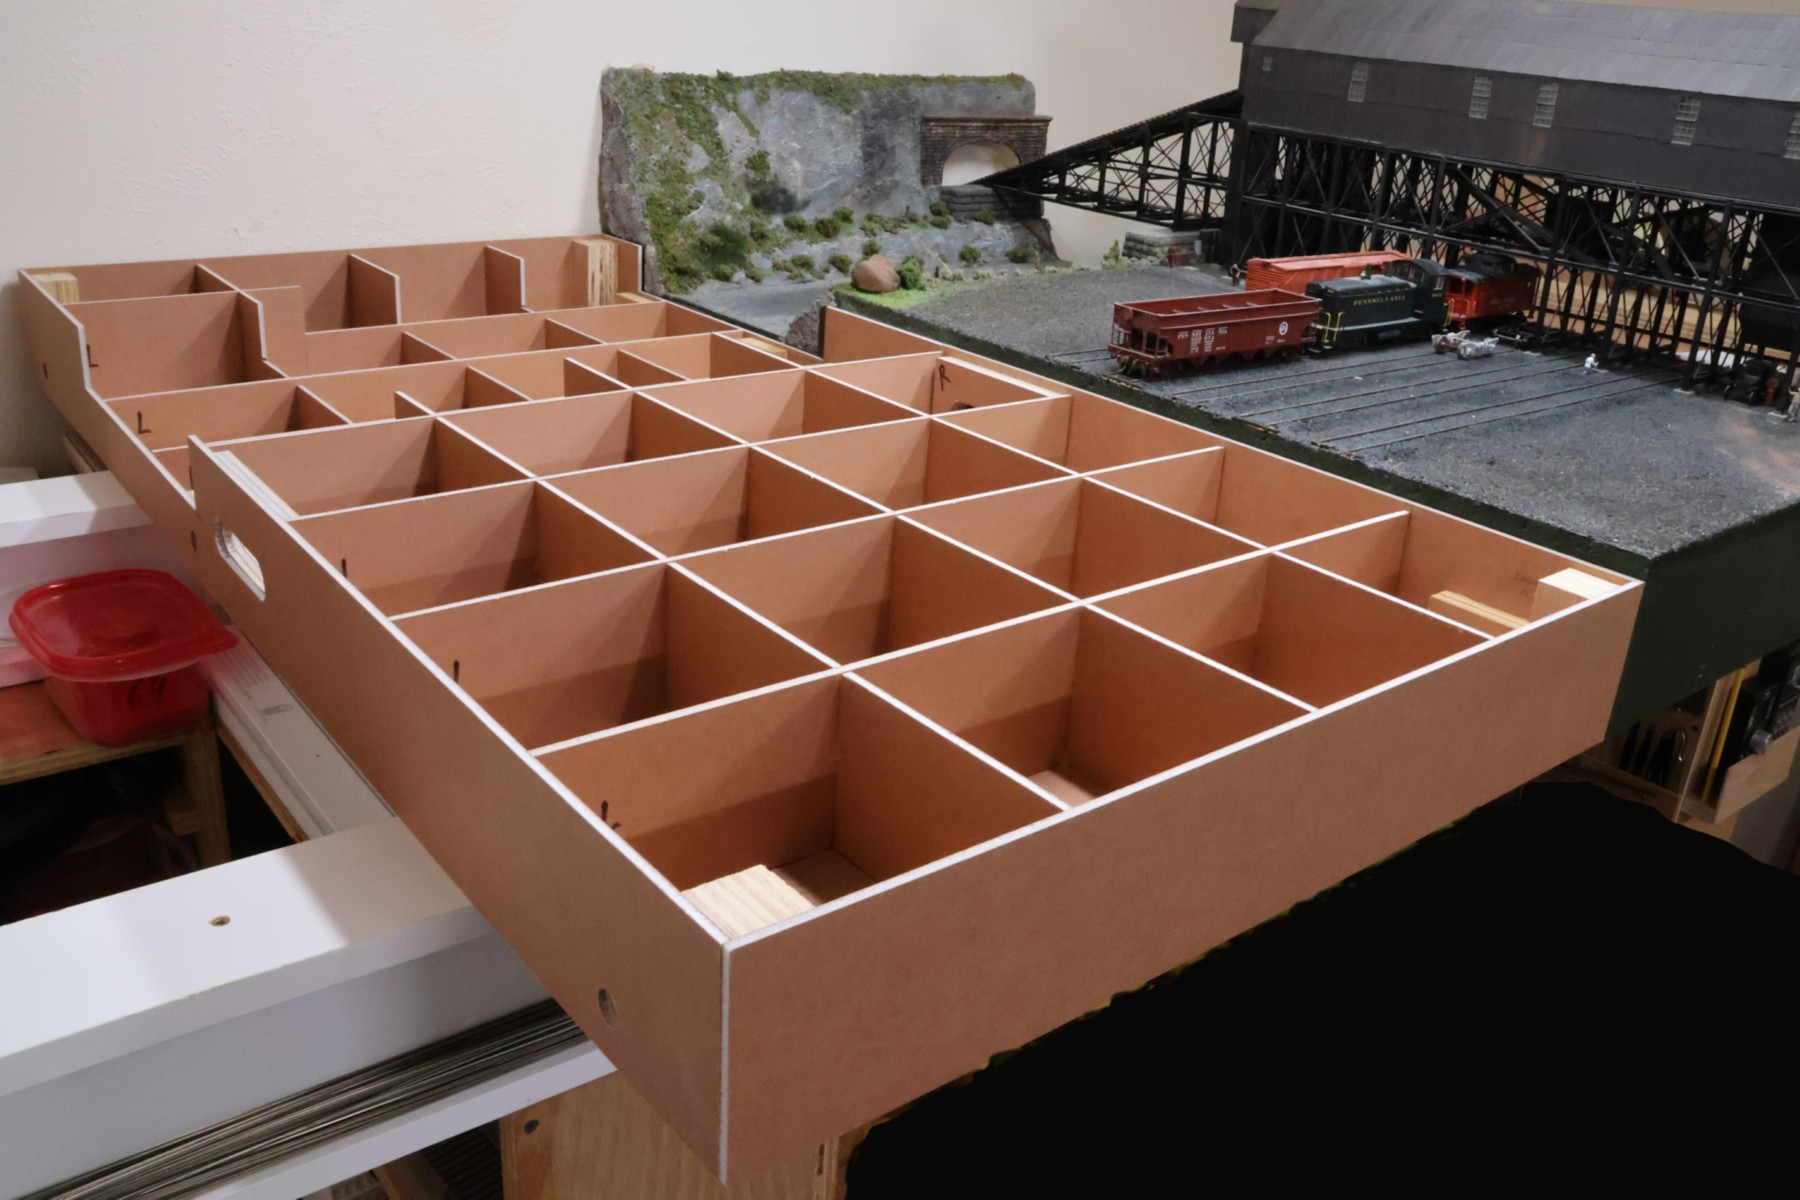
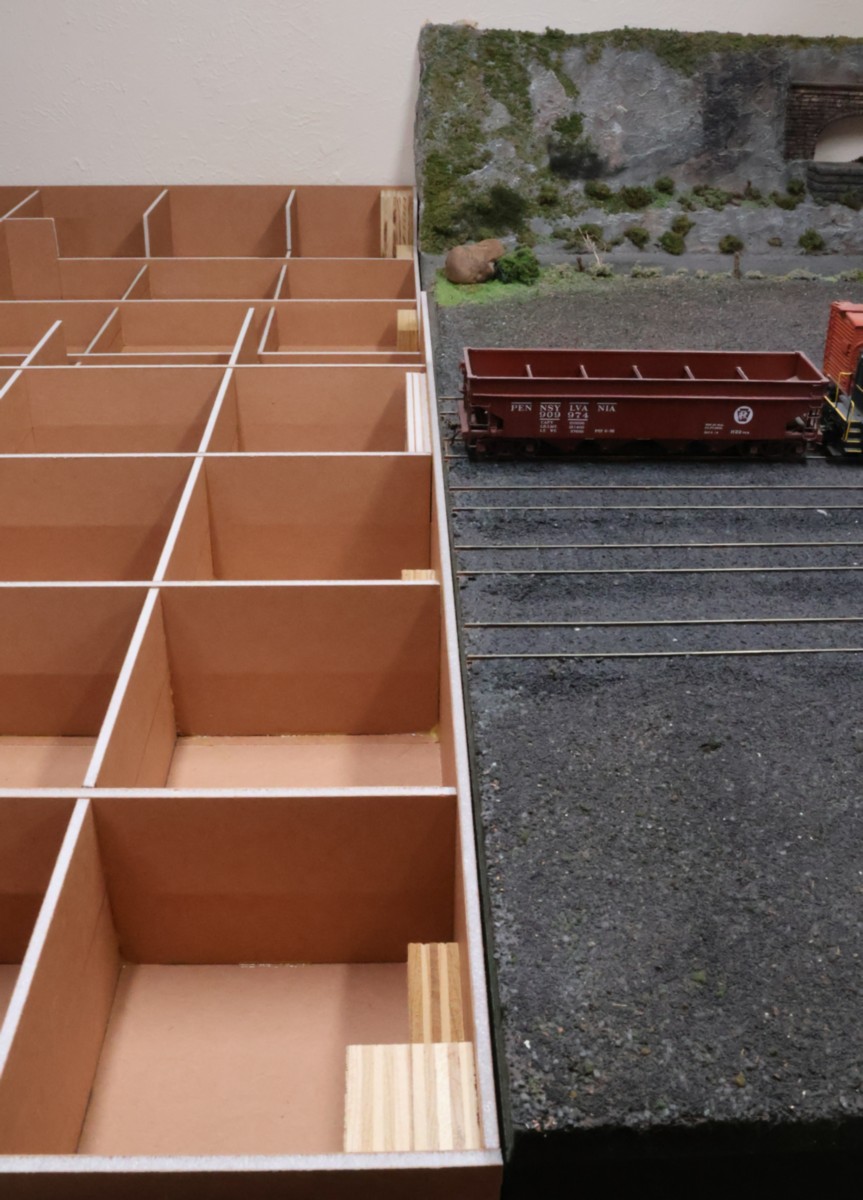
The wooden corner blocks have been cut and glued into position. The interior honeycomb construction has been built and installed. Also added are the grab handle reinforcements. The creek portion in the first module was straight, so each of the boards had the same cut-outs made into them. This second module has a curve in the creek, so I mis-cut a few of the individual cut-outs, so I had to redo those. I'm happy with the result so far.
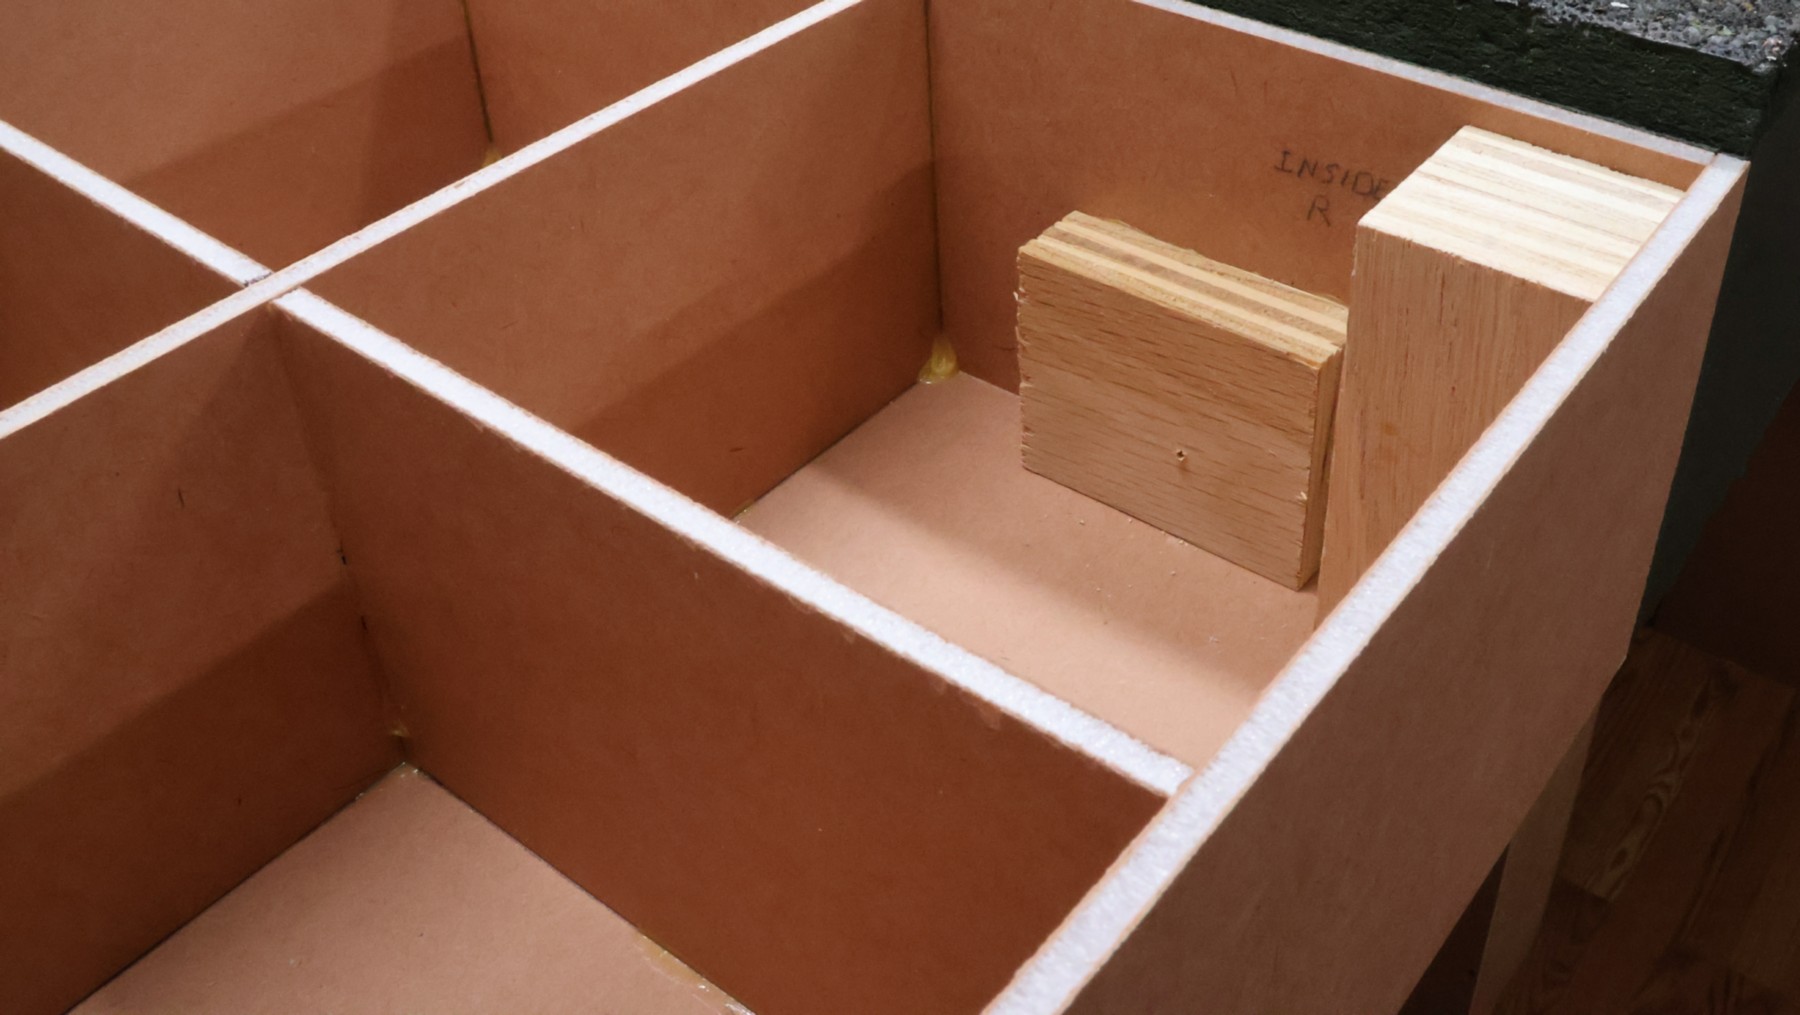
The next step is to be able to attach this second module to the first one. I had pre-drilled the holes for the alignment dowels and the holes for the magnets. Both of those need solid backing to be able to last. So, I cut a number of 2" x 2-1/2" blocks of 3/4" plywood and glued them to the interior of the side panels behind each of the pre-drilled holes.
Since I had pre-drilled the holes in the side panels for where the magnets are to go, I put the 5/8" Forstner bit into the drill and slightly drilled it into the plywood backing block. This was for two reasons. The primary one was that wood glue had gotten into the opening, so that meant that the magnet wouldn't sit flush, so the drilling cut away the excess glue. Second, the point of the Forstner bit left a perfectly-centered dimple in the plywood. This meant that I could then come back and pre-drill a hole for the magnet's mounting screw and know that it is in the correct spot.
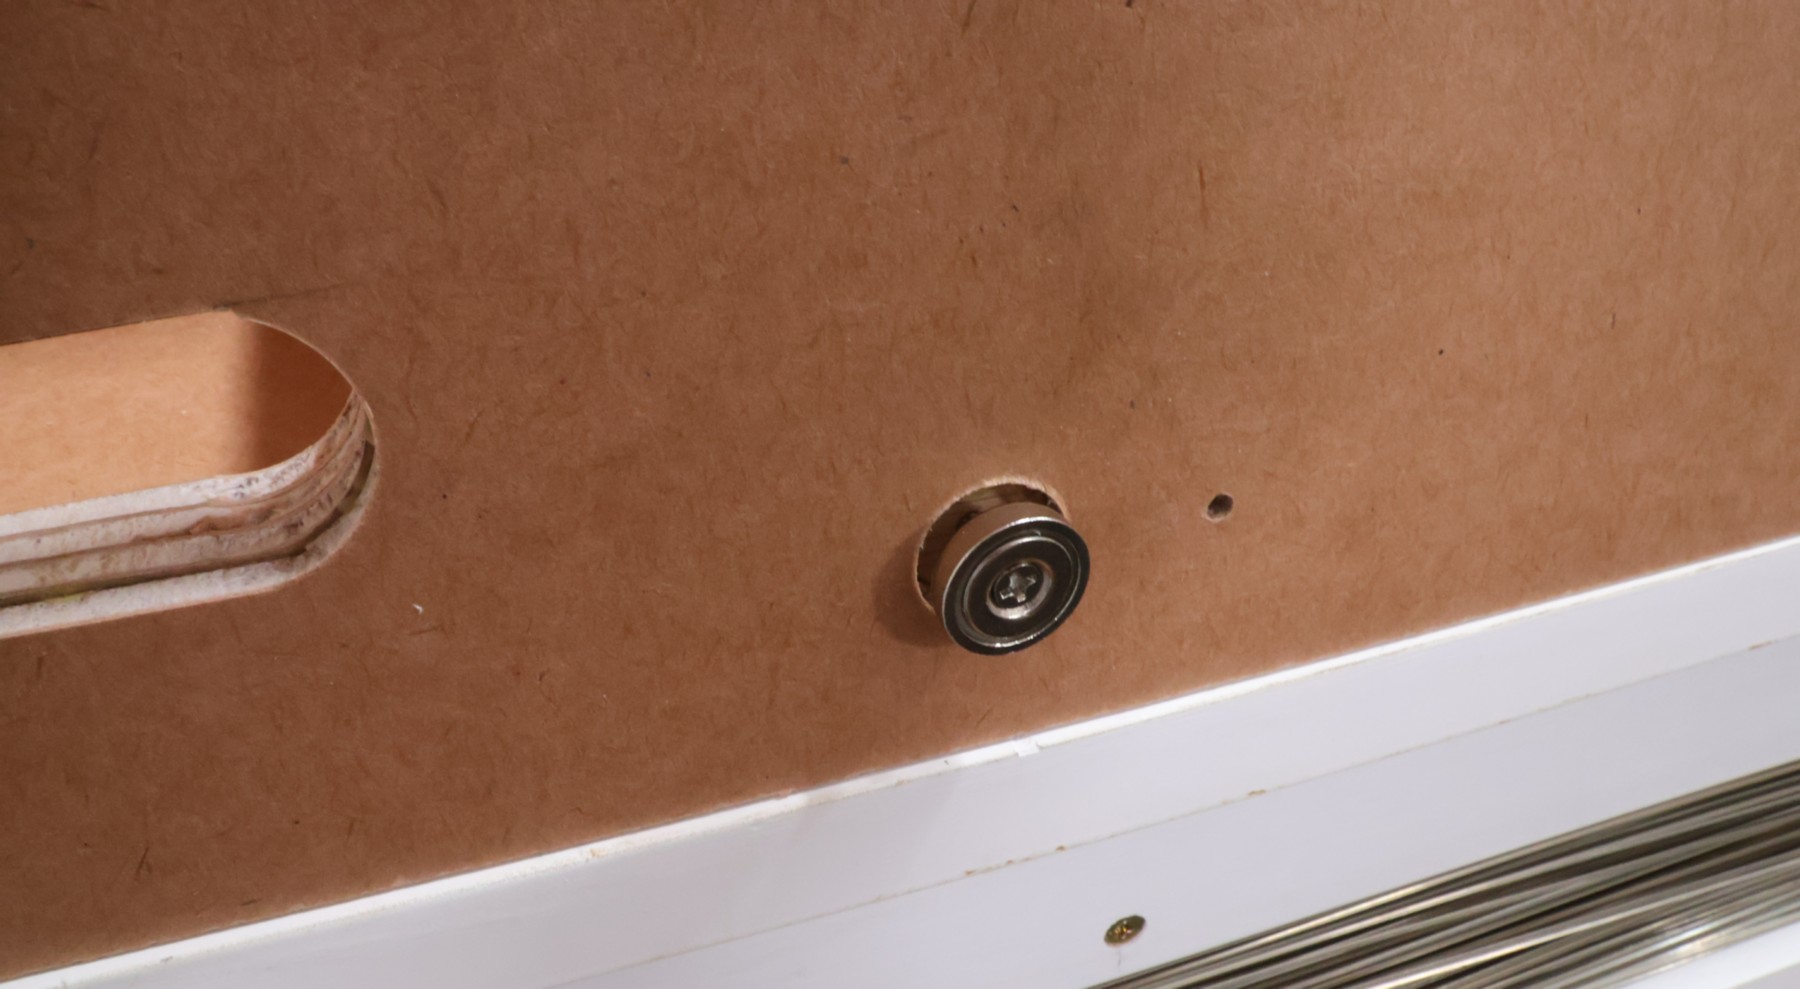
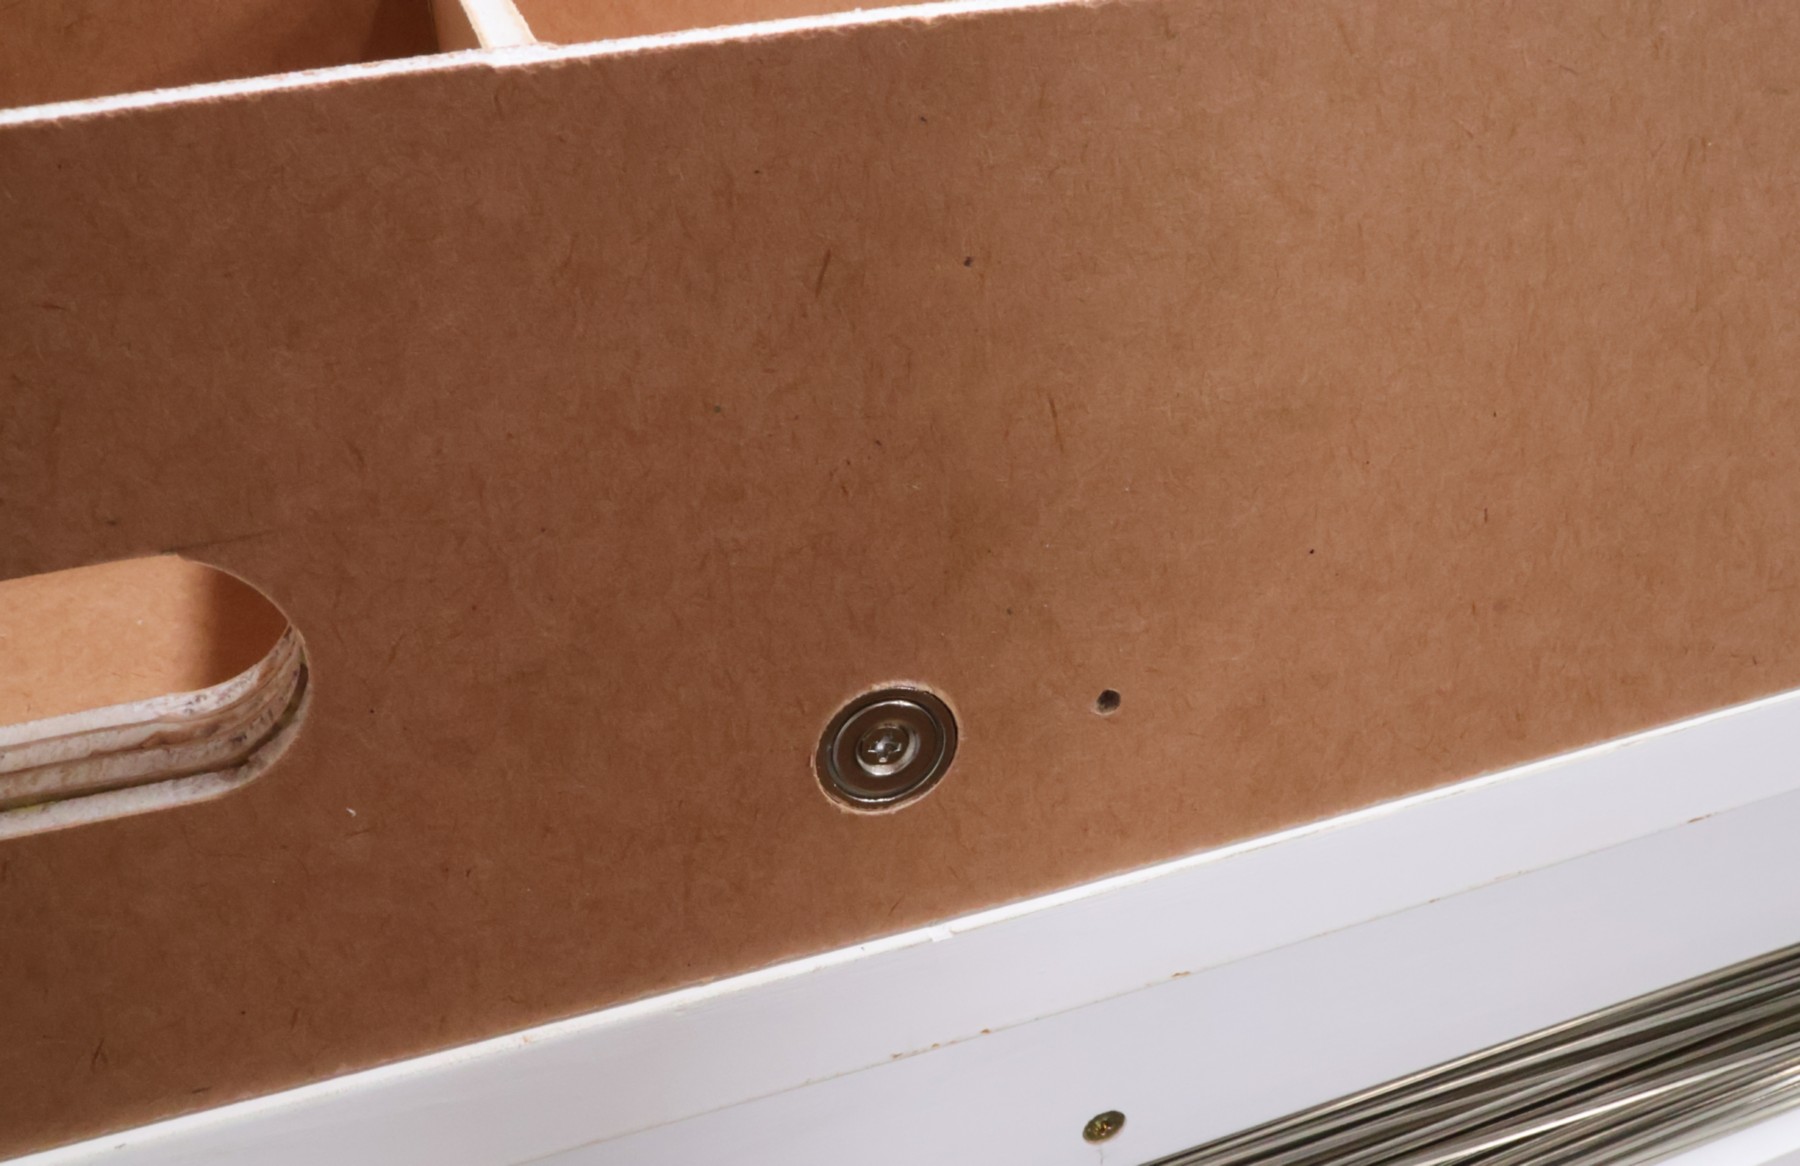
I put the screw (included) into the magnet, and then hand-screwed it into the pre-drilled hole. This was a bit challenging, because the magnet makes both the screw as well as the screwdriver bit magnetic.
When it was in position, it was perfectly flush with the outside edge of the Gatorfoam board side panel. It was pure dumb luck that the magnet's thickness is the same as the thickness of the Gatorfoam board. The hole next to the magnet is for the alignment dowel/pin.
I cut a number 1/8"-diameter dowels about 2-3/4" long. I decided to not glue them into the holes, because I wanted to test this out first before committing to the approach. I had planned on 5 such alignment pins, but when I tried to get the second module to slip into the mating alignment pin holes of the first module, it was exceedingly difficult. The main reason is that, standing at the front of the layout, the back pins are 4 feet away, so it is hard to get those to align. I pulled out the second and fourth pins and tried with just the front, middle, and back pins. That worked perfectly, and this is the photo I took after the successful first connection between the second and first module. I haven't resolved the retrofitting of something for the magnets to connect to in the first module, so that wasn't working yet.
As you can see, the two modules lined up really well. It isn't absolutely critical that they match up perfectly, as any gap can be filled in with scenery materials later on. What is important, though, is that the two modules line up the same way each time they are re-connected.
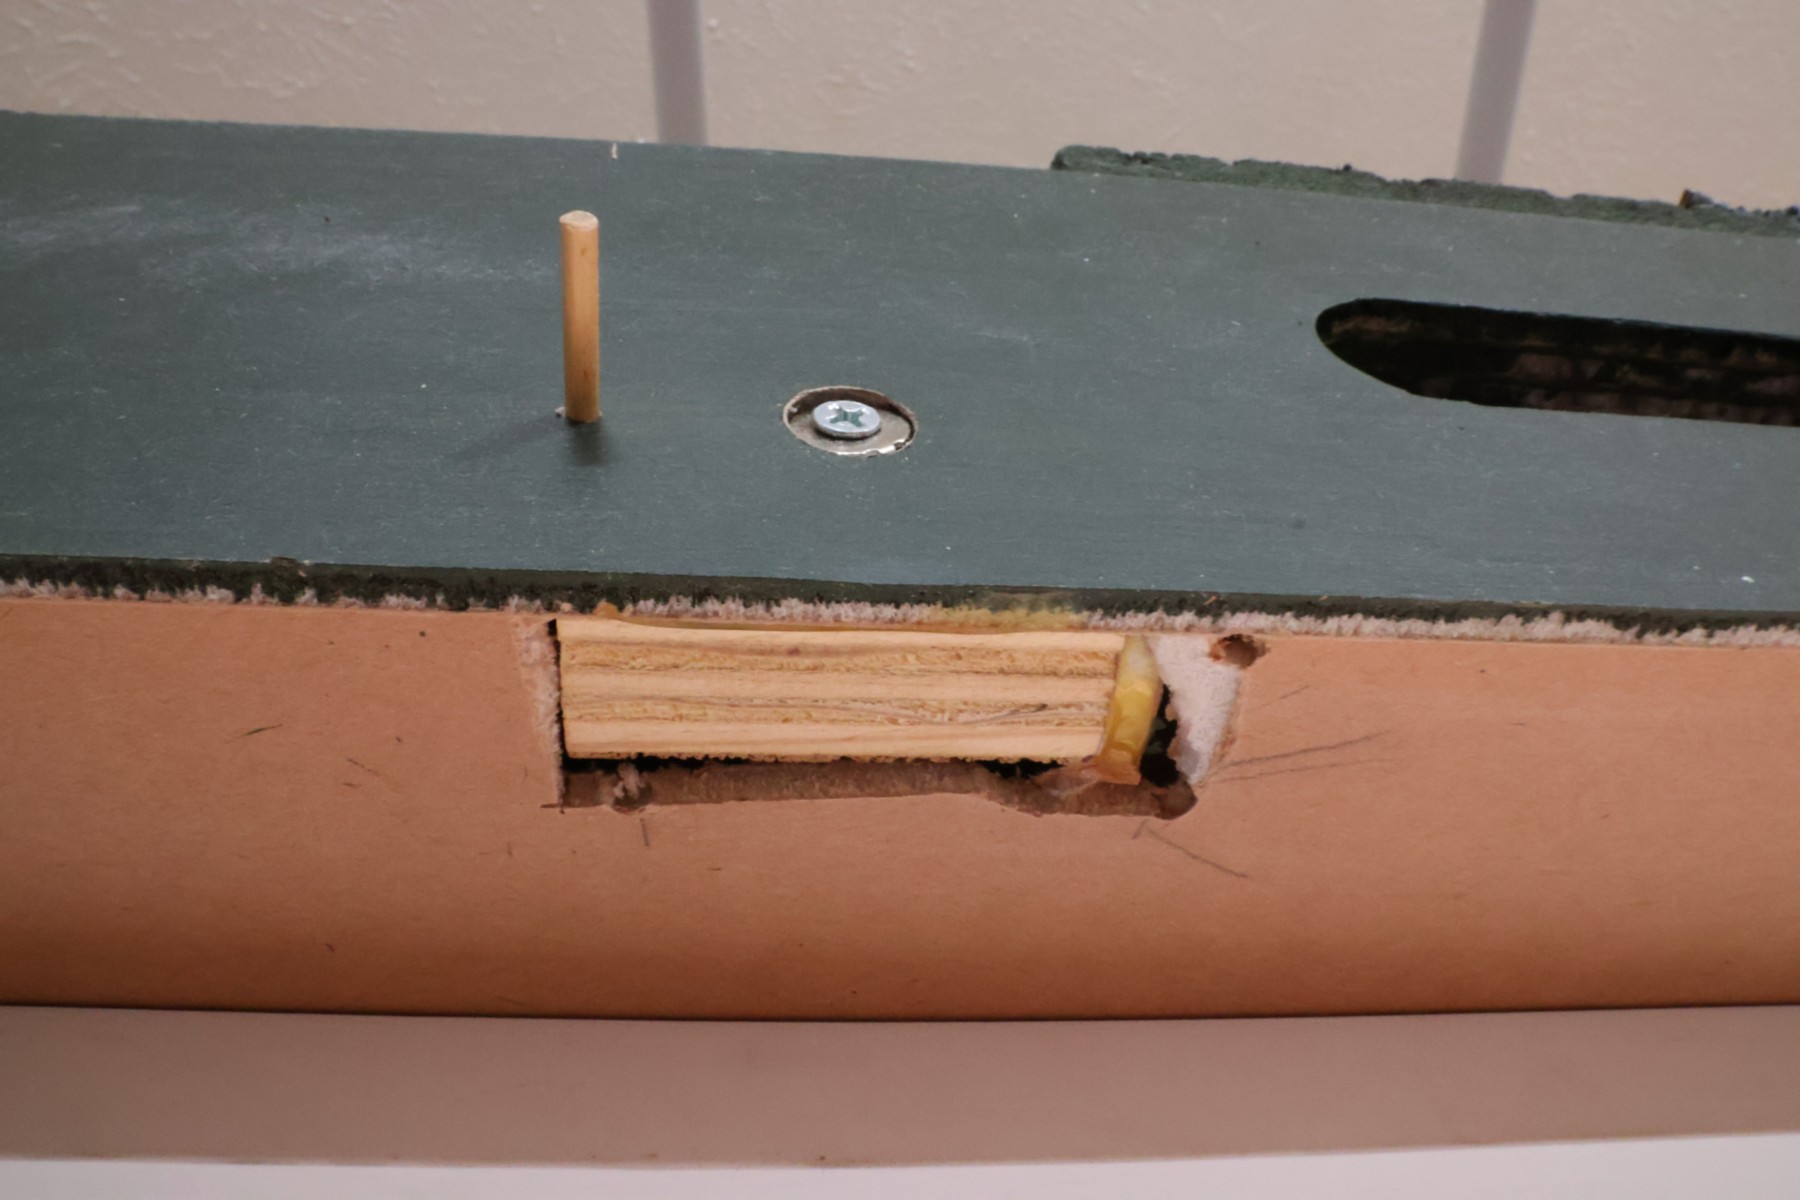
It took many ideas and some false-starts, but I eventually settled on this system for retrofitting the first module to be able to be connected with the second module via magnets. What this photo shows is the underside of the first module, where I marked off and cut out a rectangular hole slightly larger than the block of plywood. I then glued the block to the inside of the module's side wall, using a thin file to press it against the side wall long enough for the glue to hold. When it was all cured, I used a Forstner bit to drill a hole through the Gatorfoam side wall until I hit the plywood block. I could then pre-drill a hole for the screw. The screw has three metal washers (to offset the thickness of the Gatorfoam) so that when it was installed, it was flush with the side of the Gatorfoam wall. The dowel is the align pin used for the modules.
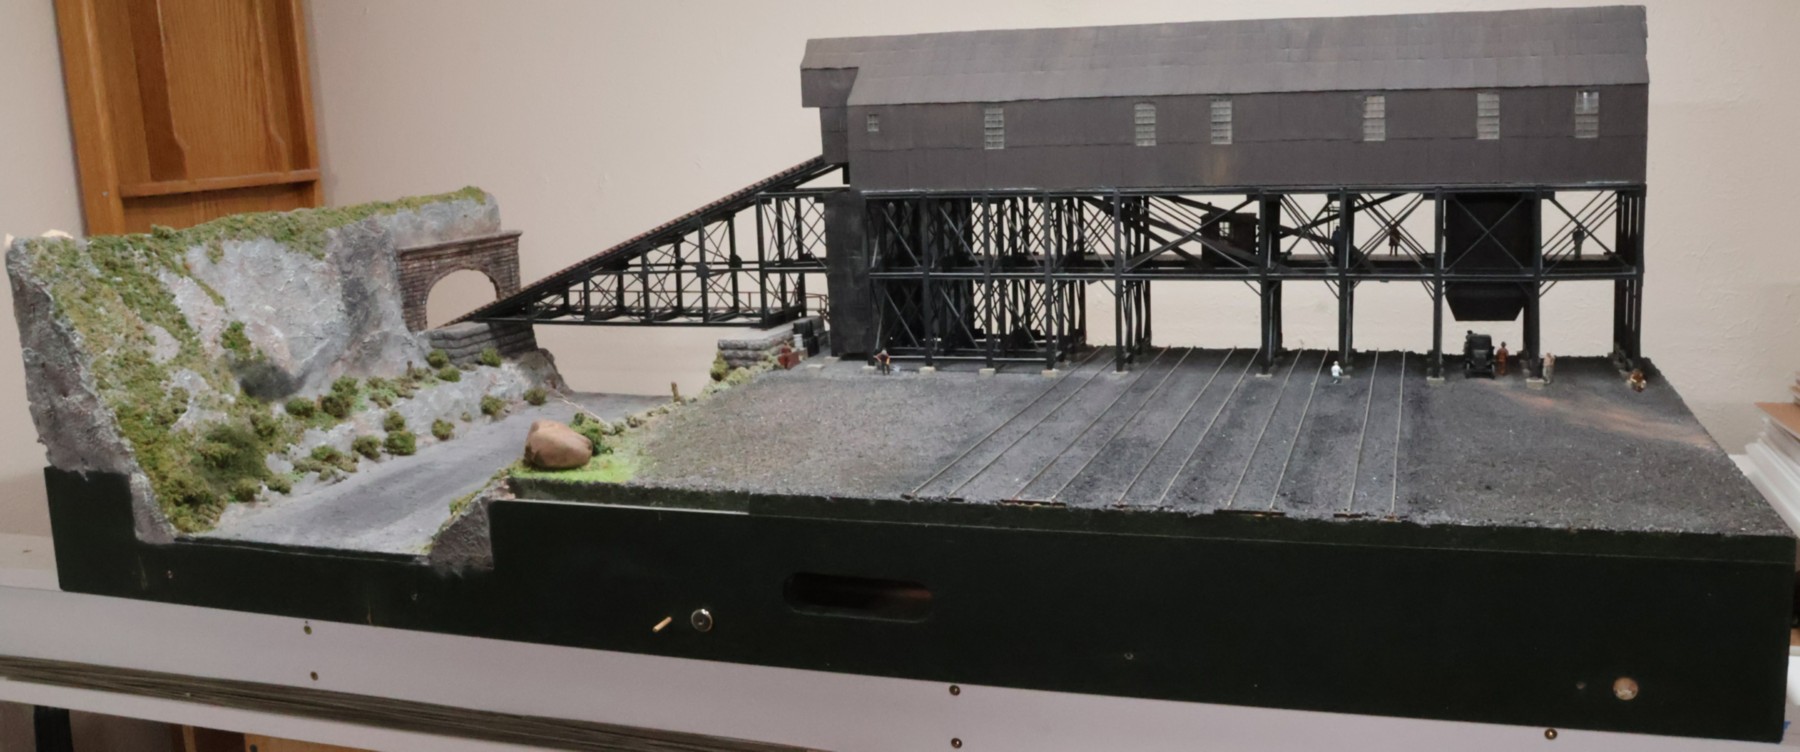
This view shows the three places where the magnets will make contact, in the three different stages. The hole on the far left shows just the pre-drilled hole from when I pre-drilled the second module's side wall, so that they match. The hole on the far right shows the wood block installed and the Gatorfoam side walled drilled out with the Forstner bit. The center hole shows the screw fully installed (as shown above) with a lose magnet snapped to it, showing how it attached to the screw-and-washer combination. Now that the first module was turned sideways to do this work, I noticed how dusty the creek had become, so that was swept later on.
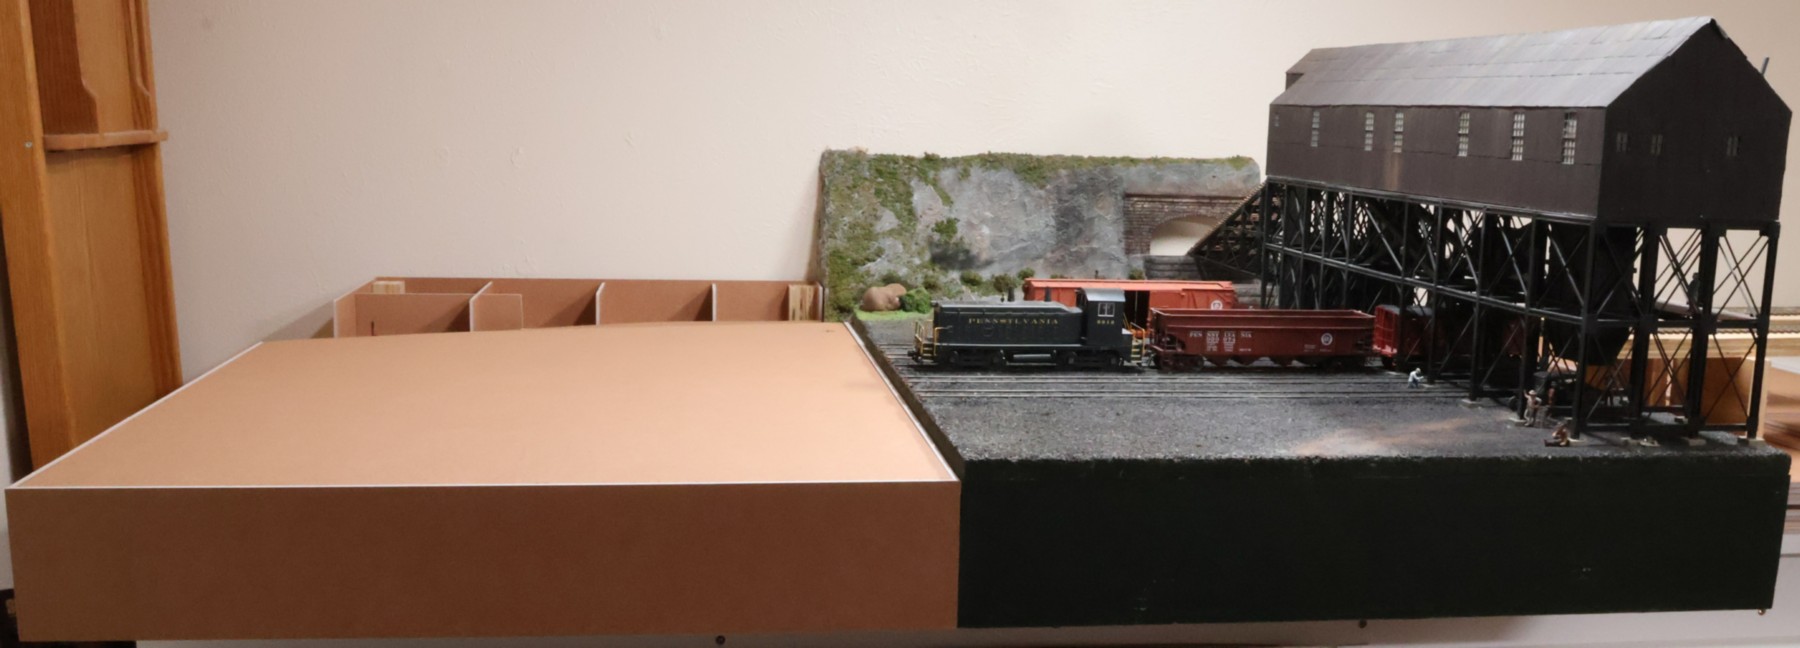
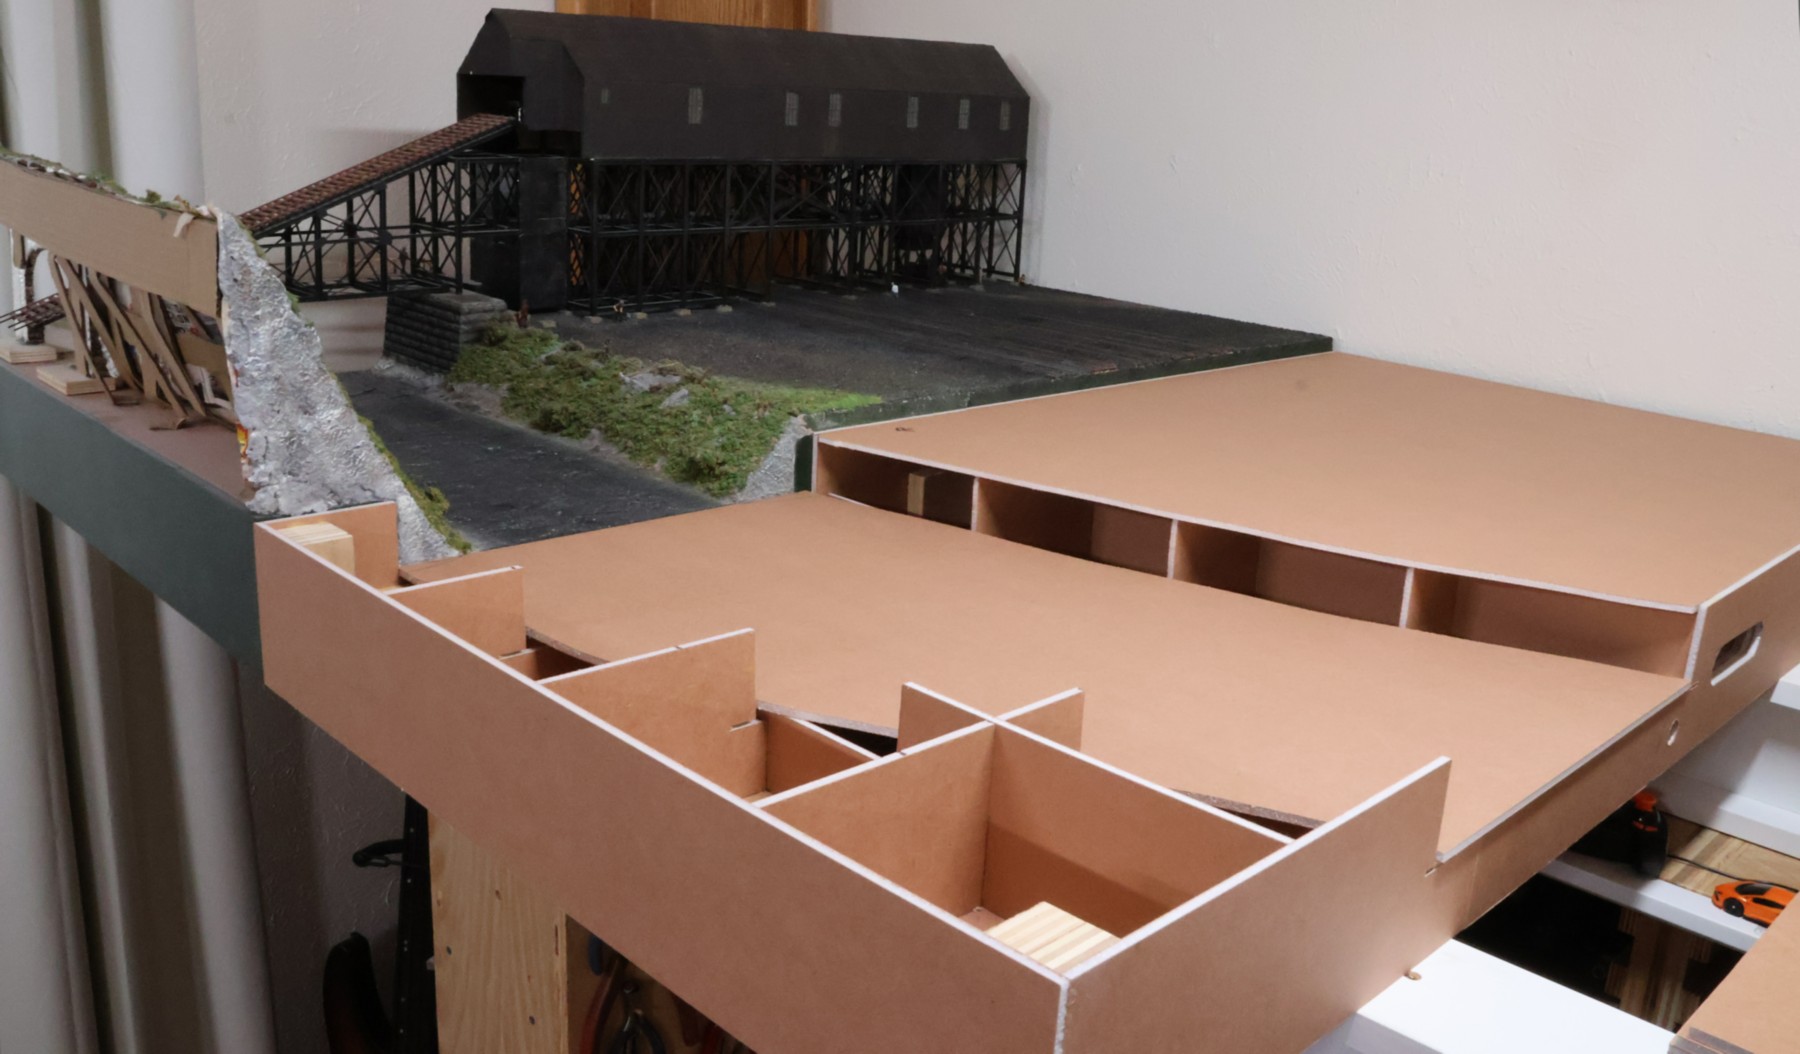
With all three of those retrofits completed, I was now, finally and officially, able to connect the second module up to the first one. I was worried that the magnets (three of them) were too strong. It turns out that while I cannot separate the modules easily, it also doesn't take too much effort to get them to separate. This is probably ideal; I don't want them to come apart when I accidentally hit the layout, but I do want them to come apart when I need access or clean the modules. As stated above, there is a gap, but so long as the gap is the same each time the modules go together, then the scenery at the top as well as the rails should always line up perfectly. By the way, I also cut the two panels that are the foundation for the landmass in the front and the creek bottom in the back (barely visible). In the first module I also made such a "land form" for the back area, but that turned out to be wasteful as it was eventually covered by the hill in the background. The hill will continue on this second module as well, of course.
Installing and attaching the "landmass" at the front of the layout was trivial: apply glue to the interior lattice-work and put lots of weights on top of the panel.
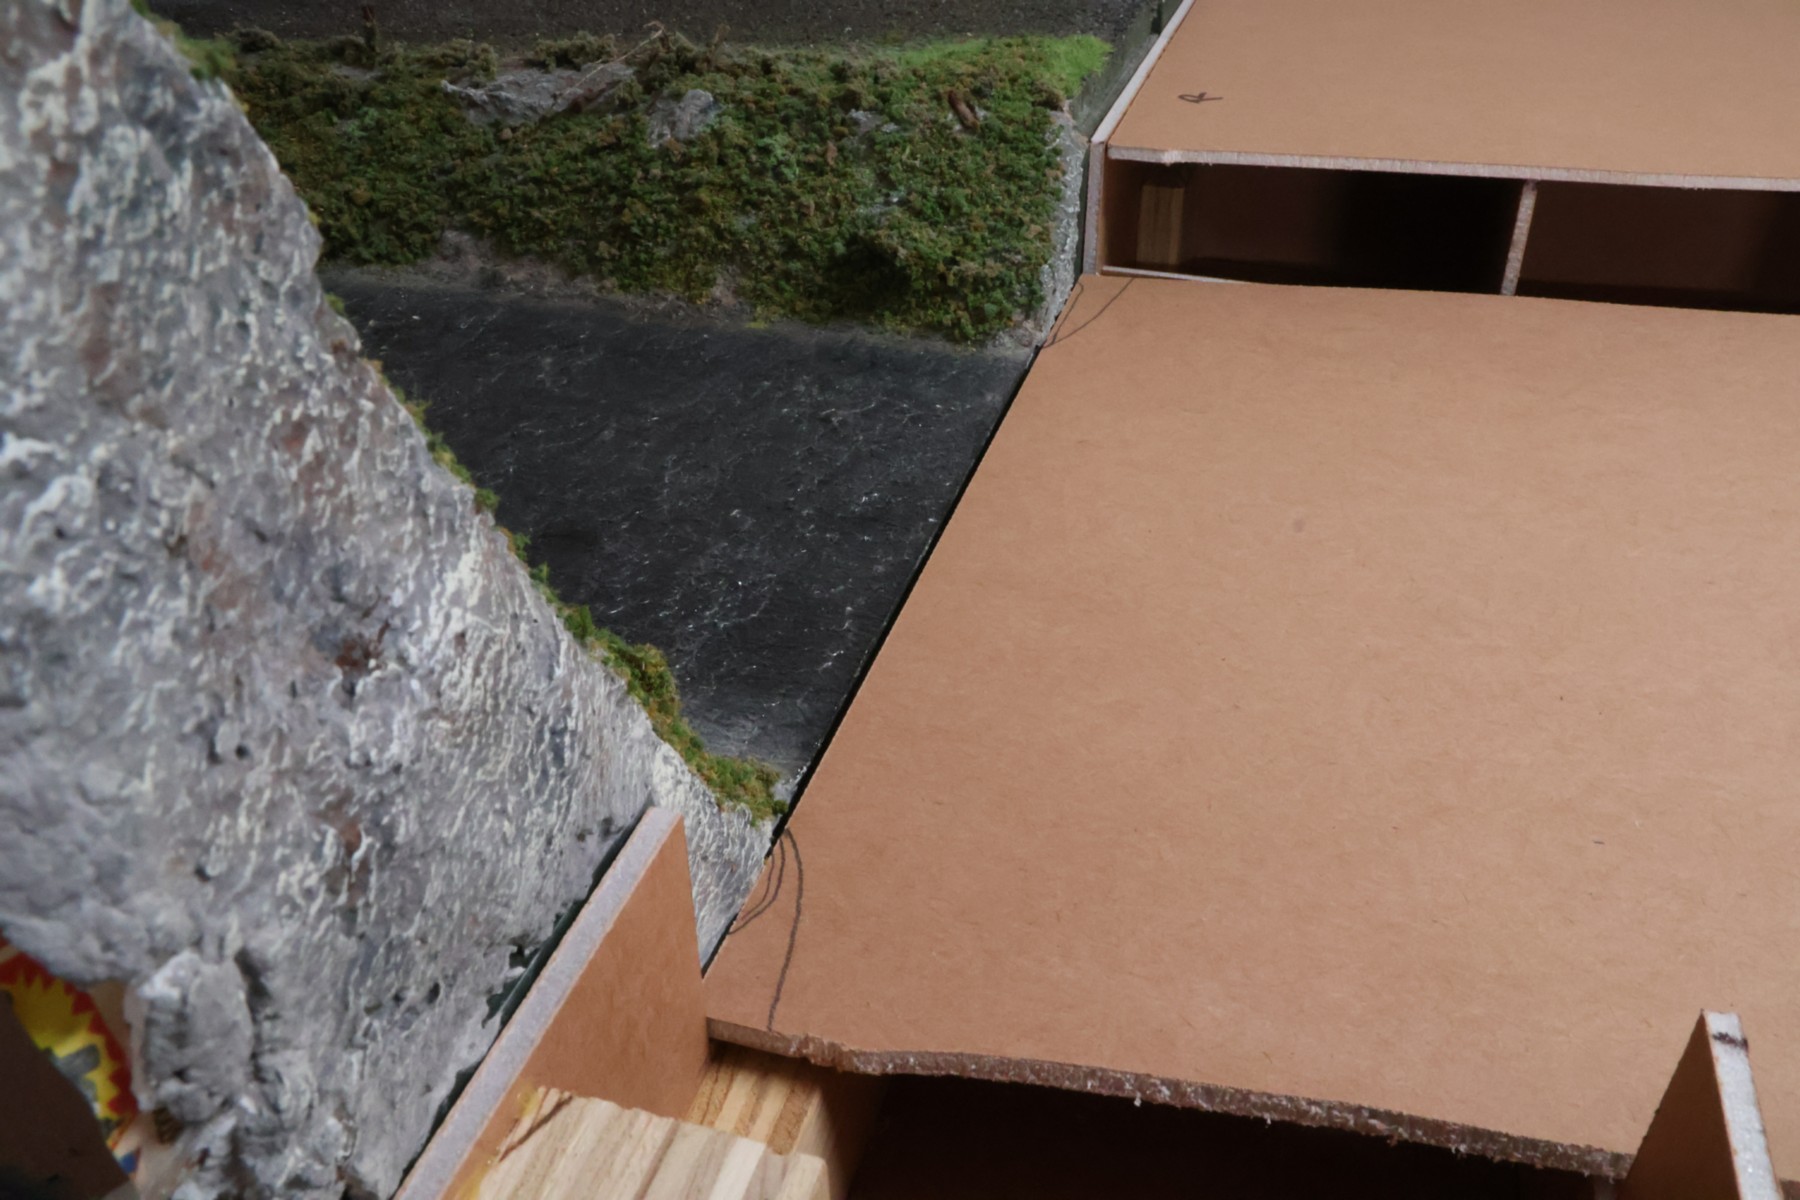
The creek bed water foundation requires a bit more tuning. First, there is a gap visible even though the magnets are making good contact. Second, the scenery of the first module slightly protudes into the space of this module. This was because I knew it was going to take quite some time before the second module was going to be built, and so I wanted the first module to have a somewhat "finished" look to it. I marked off the corners of the creek panel that need to be trimmed.
I knew this ahead of time, so I made this panel a touch longer than it needed to be, so that the extra length will nicely butt up against the first module. This view is from the bottom of the second module, looking up at the creek panel.
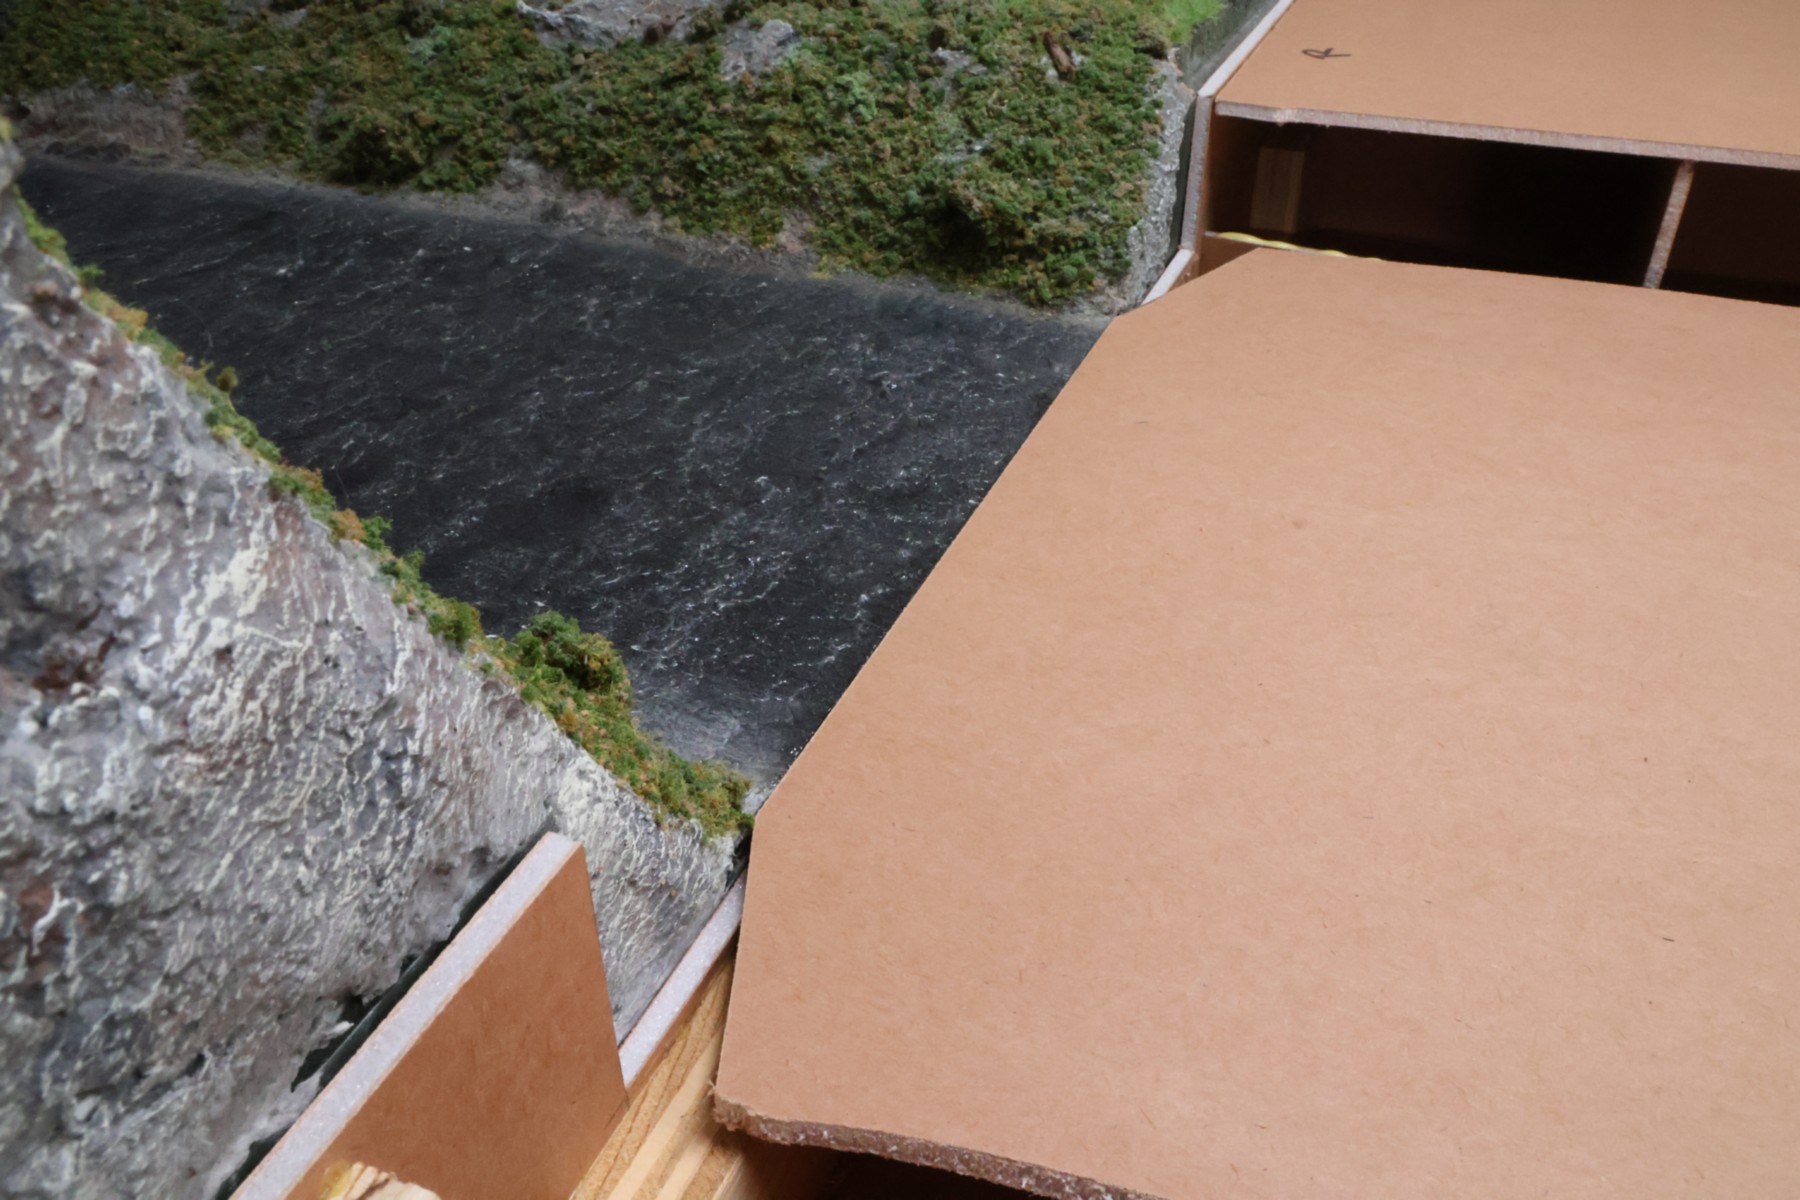
When I removed the corners, the panel slid into position perfectly. The cut-off corners are going to be under the scenery so they will not be visible.
And at the other end of the creek panel, I got lucky in my original measurements and overall cut-length, as it is a great fit.
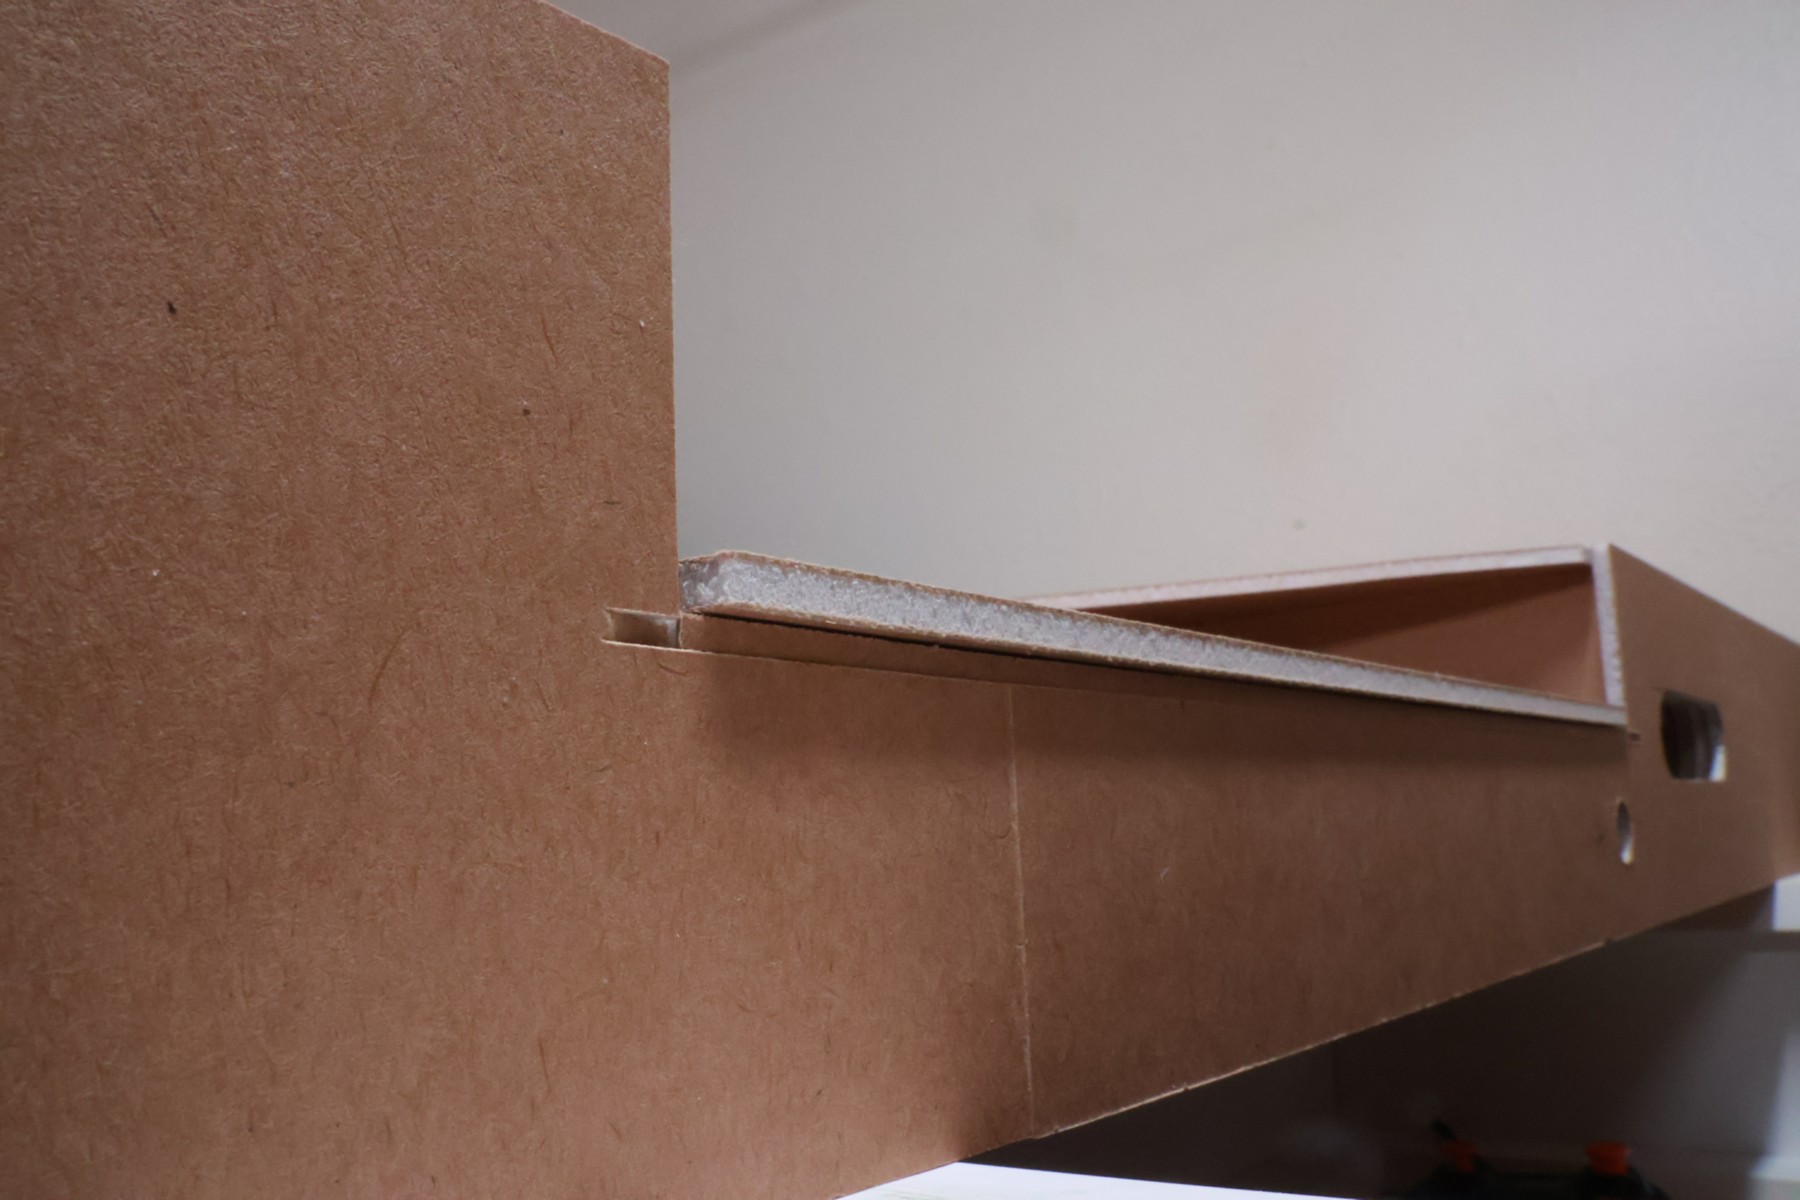
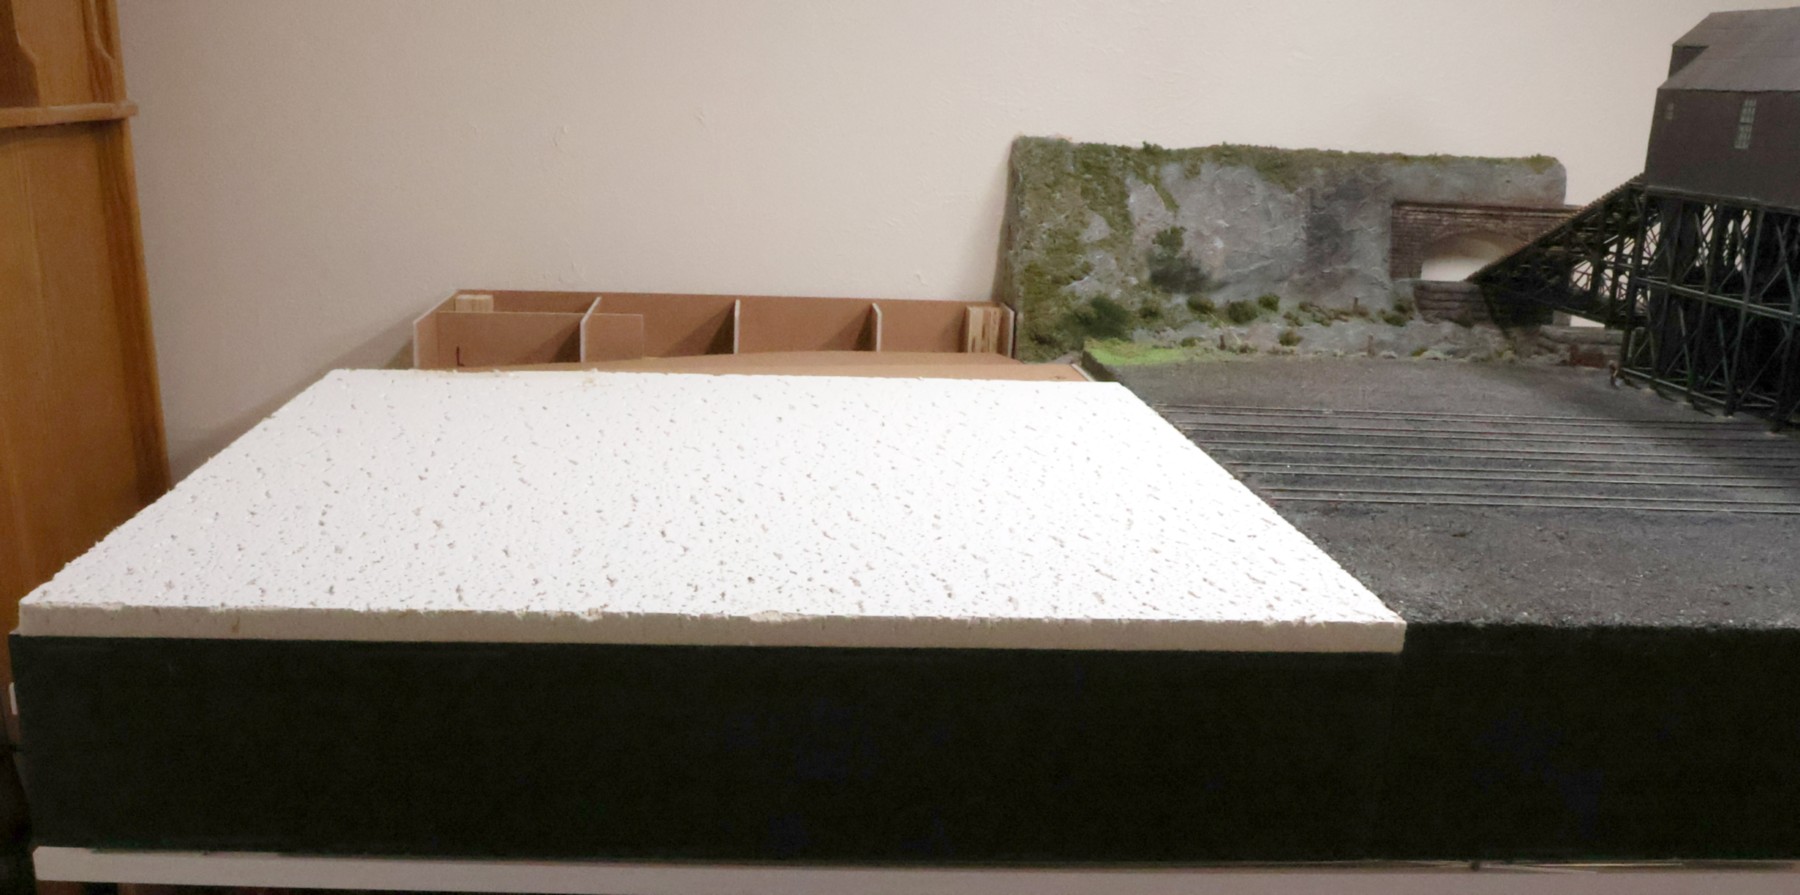
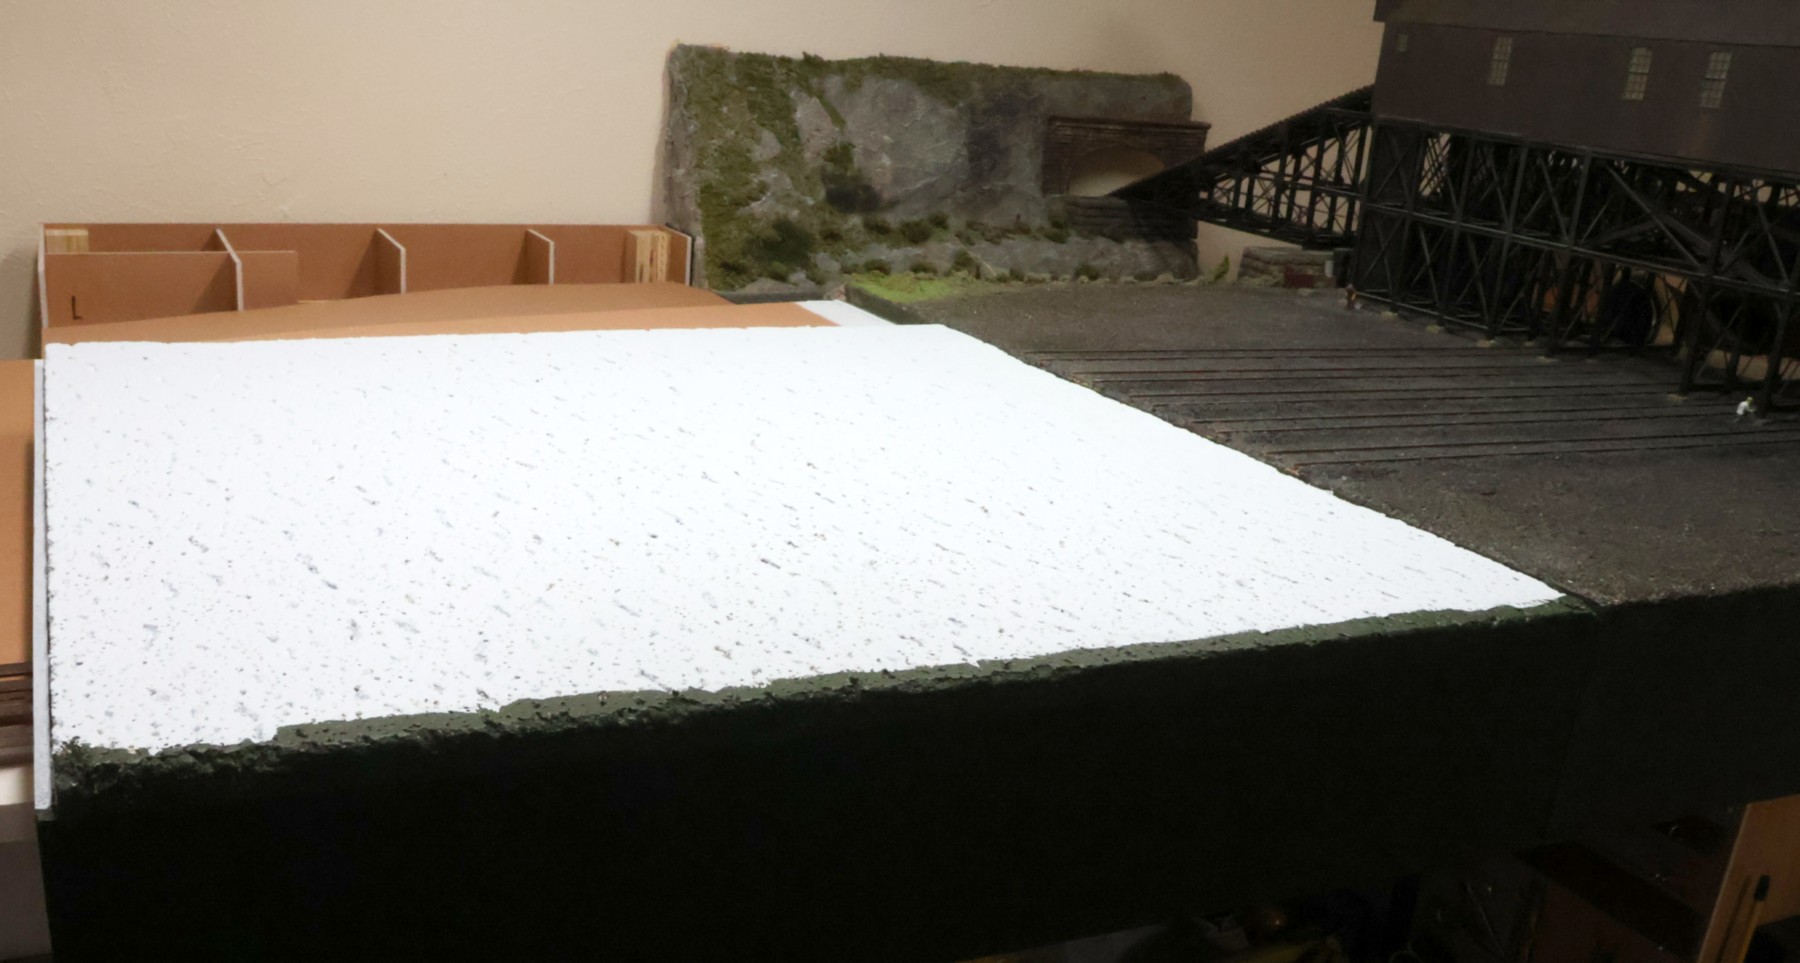
I painted the front edge of the module, and then glued a 24" x 24" ceiling tile to the top. While carefully measuring and cutting everything, the top of the tile on this second module sits too high, so I'll need to do some "grading" of the subroadbed before I can bring out the track gang.
I tried a little bit of "grading" of the ceiling tile, but it was just too nasty to do, so I stopped. When I disconnected the module from the first one and then removed the alignment pins/dowels, the modules lined up, vertically, much better, to where the tracks should be a close match, vertically. So, apparently the drill bit must have wandered off a bit when I drilled the holes for the alignment pins. It seems that if I align the front edges of the two modules, things align just fine. I painted the ceiling tile as well with some left-over light-blue paint, just to seal it; that is all going to get covered with track, ballast, and greenery in the near future anyway.
(stay tuned - track installation is next...)


