

Peter's Model Railroading | The Layout | Hazel Mine, Canonsburg, PA - Module #3
Construction #3

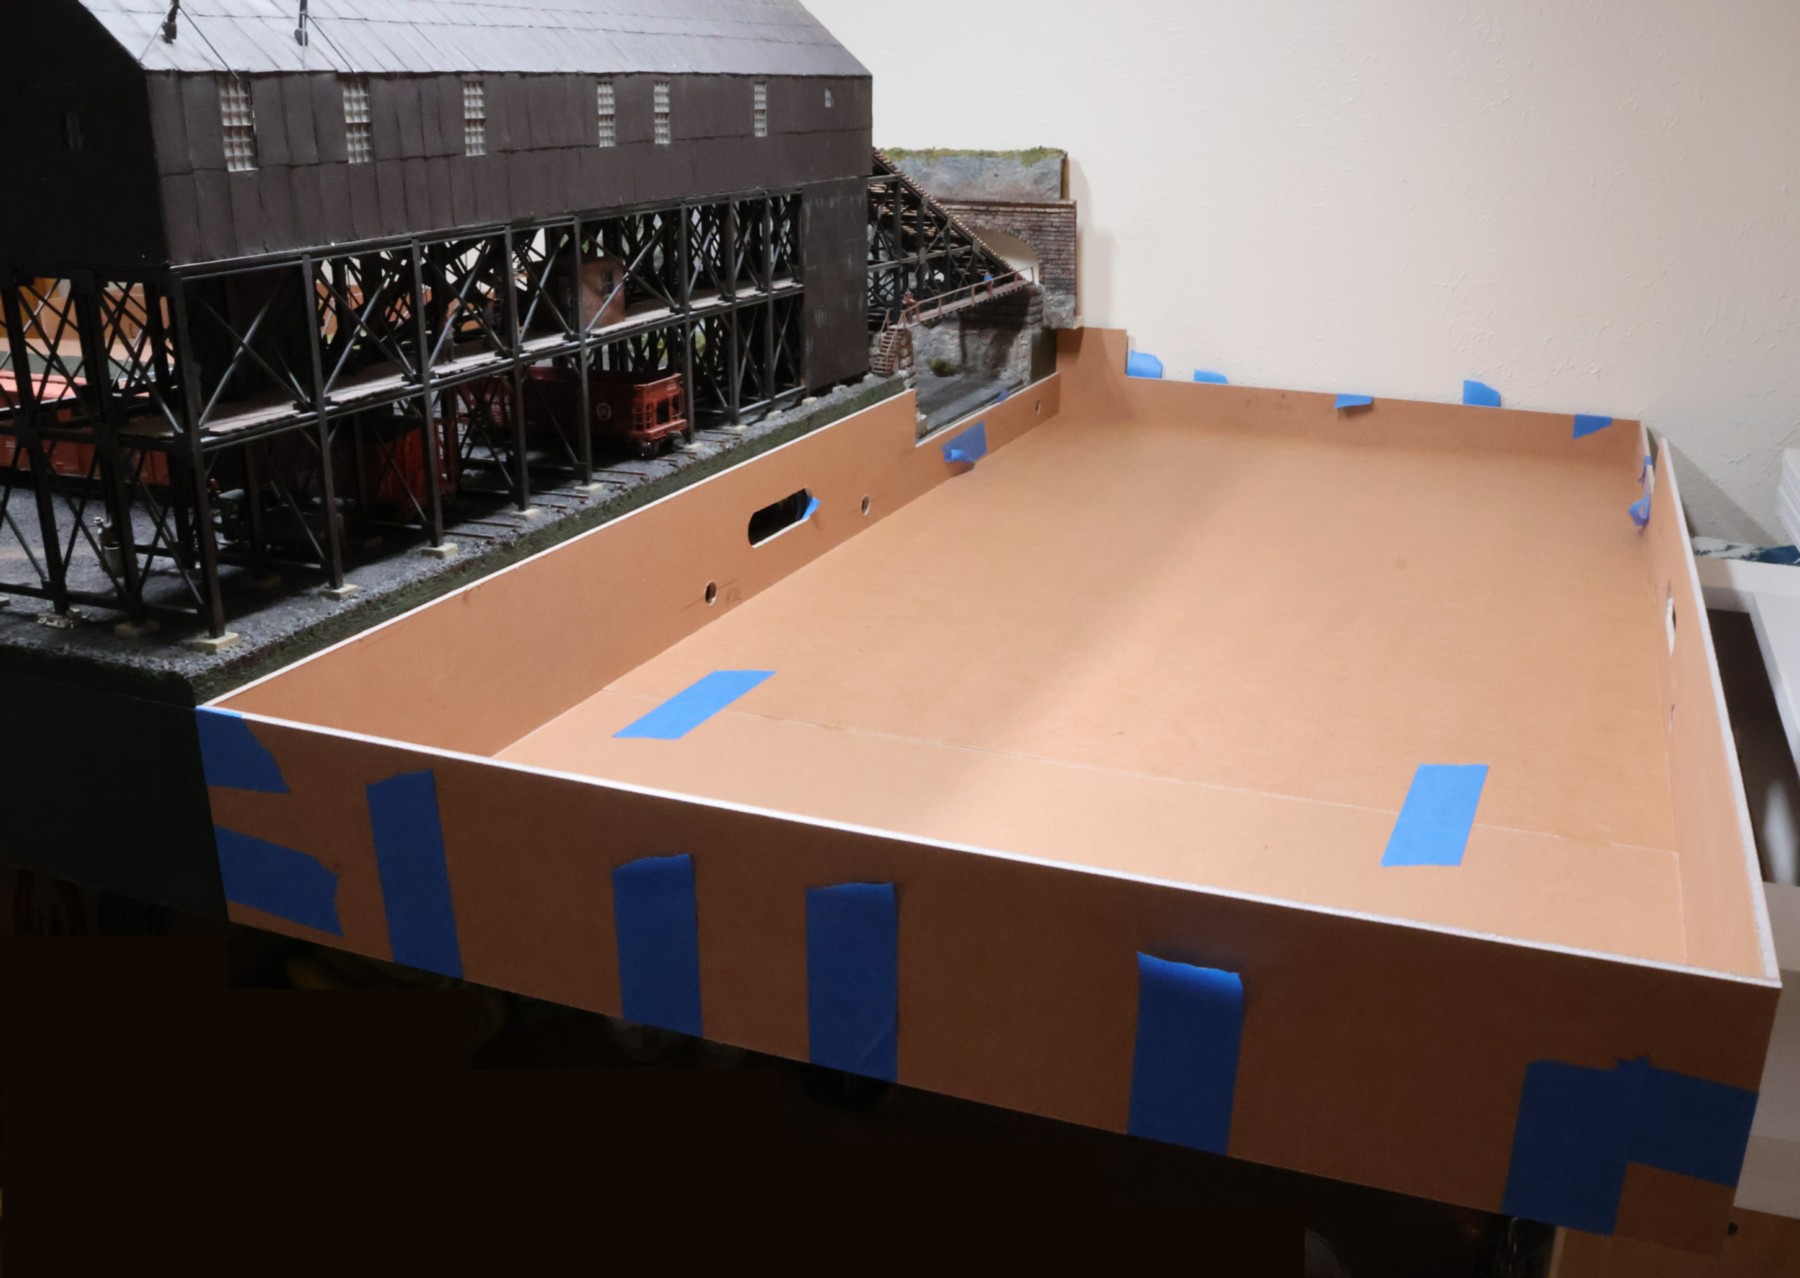
The actual construction of module #3 has commenced. Much like with module #2, I am not going to fully document all of the individual steps, as most are identical to those fully documented for module #1.
What you see here is the core basic box of the module. All of the Gatorfoam boards are edge-glued to each other, so their connections are very tenuous. Because of that, the blue masking tape will remain on the box until the full interior honeycomb is built. The only things I'm doing different, starting with this module, are that I am not doing the alignment dowels and that I decided on 4 magnets rather than 3. The alignment pins proved to be useless in module #2 unless they are 100-percent spot-on-even between the two modules. The three magnets are powerful enough to hold the modules together, but they can still be separated when I accidentally bump into one of the modules. That is why I am going with 4 magnets now. There is a trade-off, in that too many magnets will make the modules hard to come apart, as there is no place to conveniently grip them. Three magnets almost already does that. They can hold the modules in place, vertically, as well, to some extent. The creek cut-outs in the back have been made. For this module, the creek swings out and away from the front, and it widens as well as. So, a good portion of it will be "open" water, and Buffalo Hill in the back will have to be painted on the backdrop.
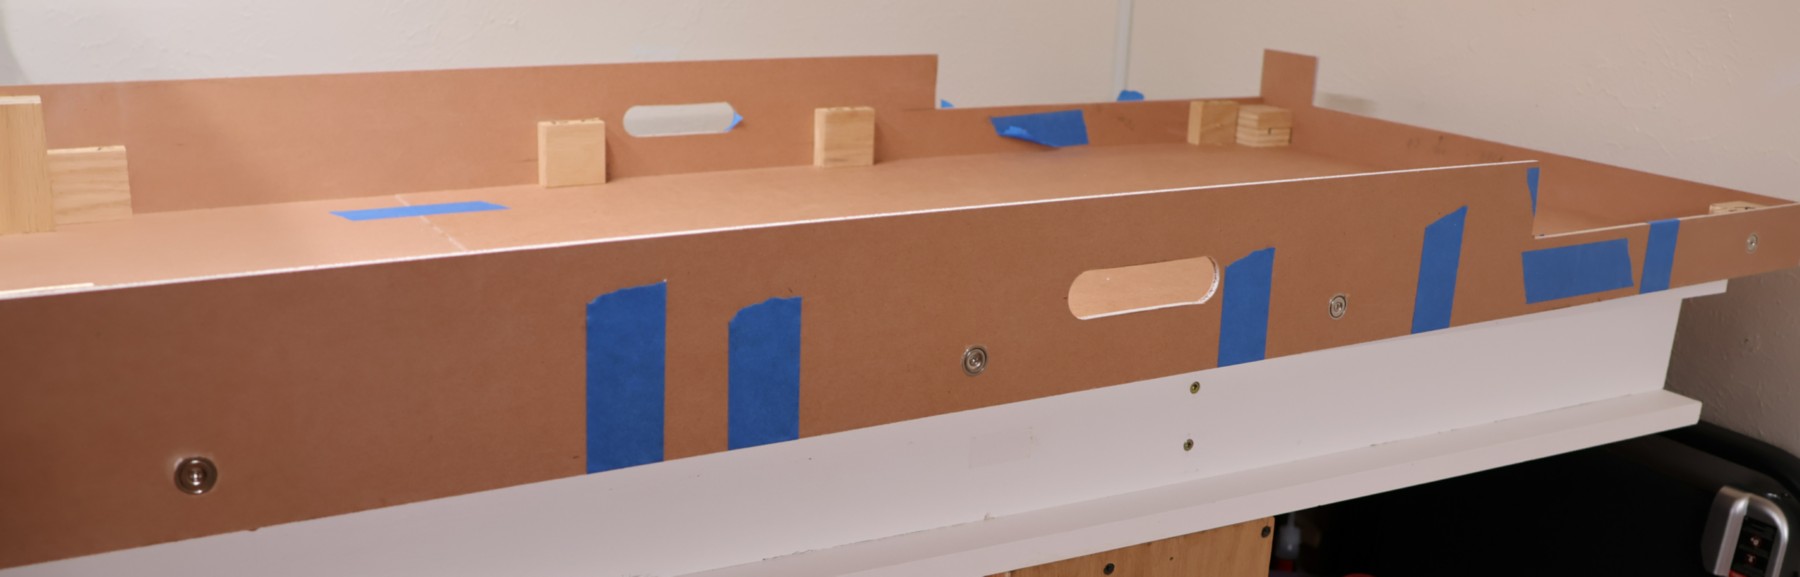
This photo shows the change to using 4 magnets. Each magnet has a square piece of 3/4" plywood behind it, as is visible on the opposite long side. I decided to use the magnets on both the left and right long sides. Module #1, the first one I've built and is finished, doesn't have magnets at all, so I need to retrofit that with washers, and module #4, I have built the frame for, so I can make it be whatever it needs, so it will also have the washers. It made the overall task of installing magnets much more efficient to do them all on this module #3.
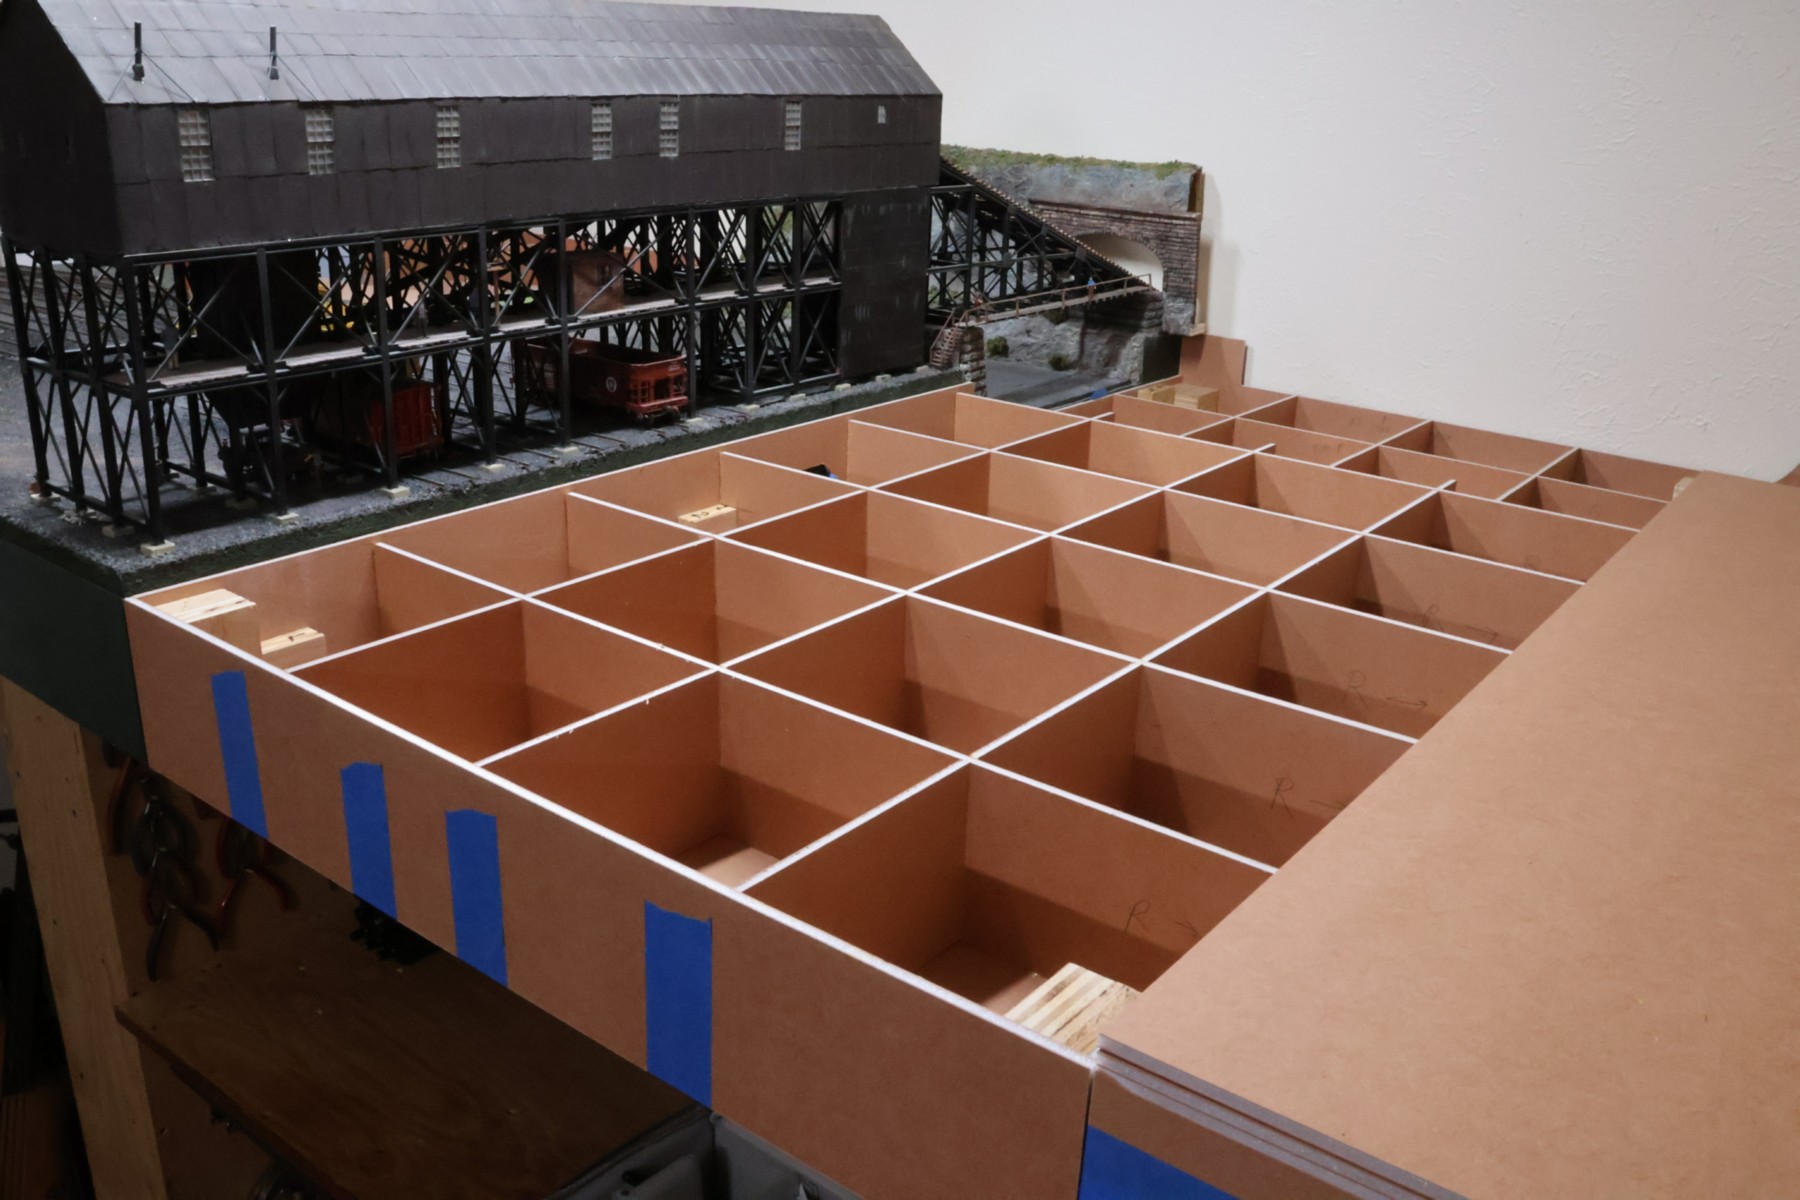
The honeycomb interior is finished. I can now remove the blue masking tape. We're almost there...